

Think frozen peaches can’t make a showstopping cobbler?
This step-by-step guide proves they can and walks you through thawing, draining, mixing the sugar-cornstarch filling, and dropping a buttery topping so you get jammy fruit and a golden, biscuit-like top every time.
Follow these simple instructions and clear visual cues (like bubbling edges and golden spots) and you’ll have warm cobbler on the table with no guesswork, whether it’s a weeknight rescue or last-minute guests.
Step-by-Step Instructions for Making a Peach Cobbler with Frozen Peaches
These 10 steps walk you through the complete workflow from start to finish, so you’ll have warm cobbler on the table without guesswork. For detailed instructions on thawing and draining the frozen peaches, see the next section on preparing frozen peaches correctly.
-
Thaw and drain 3 cups of frozen peaches. Reference the frozen peach preparation section for detailed thawing and draining guidance to avoid excess liquid.
-
Place the drained peaches in a buttered 9-inch pie dish or 8×11-inch baking dish. Spread them in an even layer across the bottom.
-
Sprinkle 1/4 cup sugar, 1 teaspoon lemon juice, and 1 1/2 teaspoons cornstarch over the peaches. Toss gently with a spoon until the fruit is evenly coated.
-
Preheat your oven to 350°F. Make sure the rack is in the center position so the cobbler bakes evenly.
-
Sift together 1 cup all-purpose flour and 1 1/2 teaspoons baking powder in a small bowl. Set this dry mixture aside.
-
Cream 6 tablespoons (3 oz) salted butter and 1/3 cup sugar in a mixing bowl until light and fluffy. Use a hand mixer or wooden spoon.
-
Beat 1 egg into the butter-sugar mixture until smooth. Scrape down the sides of the bowl so everything blends together.
-
Fold the dry ingredients into the wet mixture gently, just until combined. Don’t overmix or the topping will turn tough instead of tender.
-
Drop large spoonfuls of the topping batter onto the peaches. Don’t spread it smooth or cover every inch of fruit. Gaps are fine and help the cobbler bake evenly.
-
Bake at 350°F for 35 to 45 minutes, until the topping is golden brown with a few deeper brown spots and the filling bubbles around the edges. Let it rest for 10 minutes before serving.
| Step | Ingredient Amount | Technique Note | Expected Outcome |
|---|---|---|---|
| Mix peaches with sugar | 1/4 cup sugar, 1 tsp lemon juice, 1 1/2 tsp cornstarch | Toss gently; sugar and cornstarch coat evenly | Glossy peaches with no dry pockets |
| Cream butter and sugar | 6 tbsp butter, 1/3 cup sugar | Beat until light and fluffy, about 2 minutes | Pale mixture with visible air pockets |
| Drop topping onto peaches | Full topping batter | Use a large spoon; leave some peach gaps | Uneven dollops that will spread and rise |
| Bake until golden | Full cobbler at 350°F | Check at 35 minutes; edges should bubble | Set topping, jammy fruit, golden color |
Ingredients and Measurements for a Frozen Peach Cobbler
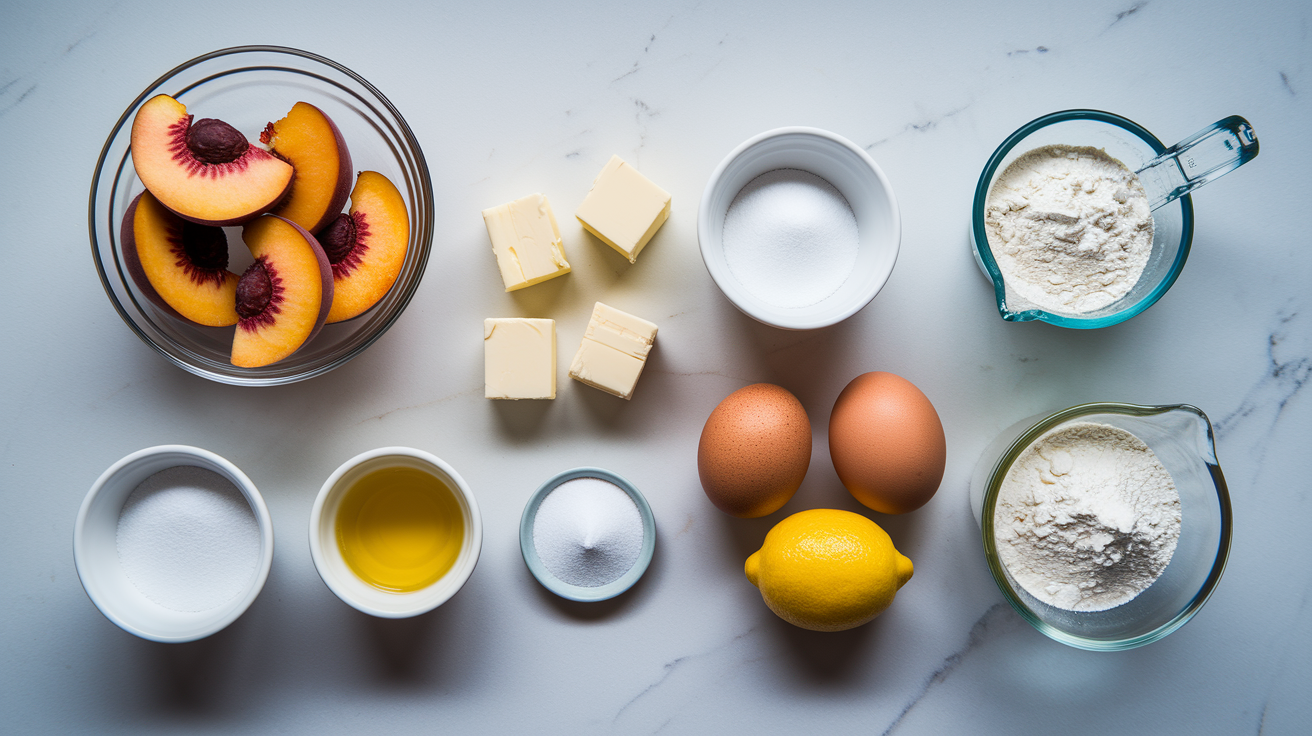
You’ll need two simple ingredient lists. One for the peach filling and one for the drop-biscuit topping. The cobbler uses 9 total ingredients, and most of them live in your pantry already.
The peach filling is built from frozen fruit plus a quick sugar-cornstarch mixture that keeps the cobbler from turning soupy. The topping relies on creamed butter, a beaten egg, and sifted dry ingredients to create a tender, biscuit-like layer that bakes up golden and soft.
- 3 cups frozen peaches (sliced and thawed, then drained)
- 1 teaspoon fresh lemon juice (brightens the peach flavor)
- 1/4 cup granulated sugar (adjust down if your frozen peaches are packed in syrup or are very sweet)
- 1 1/2 teaspoons cornstarch (thickens the filling so it doesn’t run when you scoop)
- 1/3 cup granulated sugar (for the topping)
- 6 tablespoons salted butter (3 oz, or 3/4 stick, softened and cubed)
- 1 large egg (beaten lightly before adding)
- 1 cup all-purpose flour (spooned and leveled, not packed)
- 1 1/2 teaspoons baking powder (gives the topping lift and a tender crumb)
If your frozen peaches are especially sweet or if you prefer a less sweet cobbler, start with 3 tablespoons of sugar in the filling and taste the raw fruit after you toss it. You can always add another tablespoon before baking if the peaches need it.
Preparing Frozen Peaches Correctly for Cobbler Success
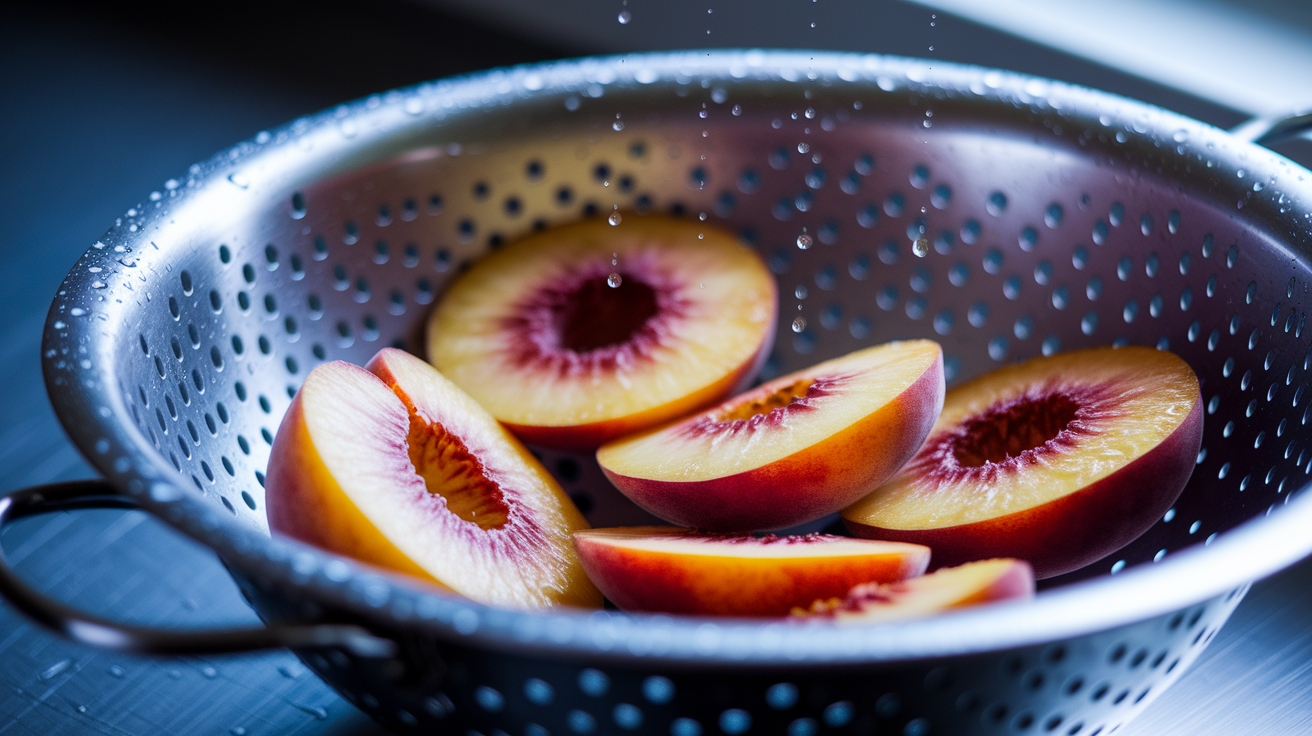
Frozen peaches release water as they thaw, and that extra liquid can turn your cobbler into fruit soup if you skip the prep steps. Thaw the peaches on the counter for about 30 minutes, or microwave them on low power for about 1 minute, just until they soften and separate.
Once thawed, place the peaches in a colander and let them drain for at least 10 minutes, stirring them gently once or twice to help the liquid run off. You don’t need to press or squeeze them dry. Just let gravity do the work. If the peaches still look wet, you can either spoon off some of the pooled liquid or stir in an extra 1/2 teaspoon of cornstarch when you toss the filling. One reader used a scant 1 tablespoon of cornstarch for home-frozen peaches and reported good results, so a little flexibility here is fine as long as you’re watching for wetness.
Don’t skip thawing if you’re using a glass baking dish. Putting frozen fruit directly into a glass pan can cause thermal shock and crack the dish, especially if the oven is already hot or if you’re moving the dish from a cold counter into heat. Thaw first, drain second, then assemble.
- Skipping the thaw step and pouring frozen fruit straight into the dish (causes uneven baking, longer cook times, and safety risks with glass pans)
- Failing to drain the thawed liquid (makes the filling watery and prevents the cornstarch from doing its job)
- Adding more fruit without adjusting the cornstarch (doubling the peaches but keeping the same thickener ratio will leave you with thin, soupy cobbler)
Mixing and Dropping the Cobbler Topping

The topping starts with a creaming step that builds air into the butter and sugar, which gives you a tender, cake-like texture once baked. Use room-temperature butter so it blends smoothly without clumping. Beat the butter and 1/3 cup sugar together in a medium bowl until the mixture looks pale, fluffy, and noticeably lighter in color. This usually takes about 2 minutes with a hand mixer or a few more minutes by hand with a wooden spoon.
Crack the egg into a small dish, beat it lightly with a fork, then pour it into the creamed butter. Mix again until the egg disappears completely and the batter is smooth. Sift the 1 cup of flour and 1 1/2 teaspoons of baking powder together in a separate bowl, then add the dry ingredients to the wet mixture in two or three additions. Use a spatula or spoon to fold the flour in gently. Stop mixing as soon as you no longer see dry streaks. Overmixing the batter at this stage will develop gluten and make the topping tough and chewy instead of soft and biscuit-like.
The finished batter will be thick and sticky, somewhere between a cake batter and a biscuit dough. When you drop spoonfuls onto the peaches, don’t try to smooth it into an even layer or cover every inch of fruit. Leaving gaps between the dollops lets steam escape and helps the topping bake all the way through without staying gooey in the center. The batter will spread and rise as it bakes, so those gaps will mostly fill in on their own.
- Cream the butter and sugar until fluffy (about 2 minutes with a mixer).
- Beat in the egg until fully blended.
- Sift the flour and baking powder, then fold into the wet mixture gently.
- Drop large spoonfuls of batter onto the peaches, leaving gaps between dollops.
Baking a Peach Cobbler with Frozen Peaches at the Right Temperature

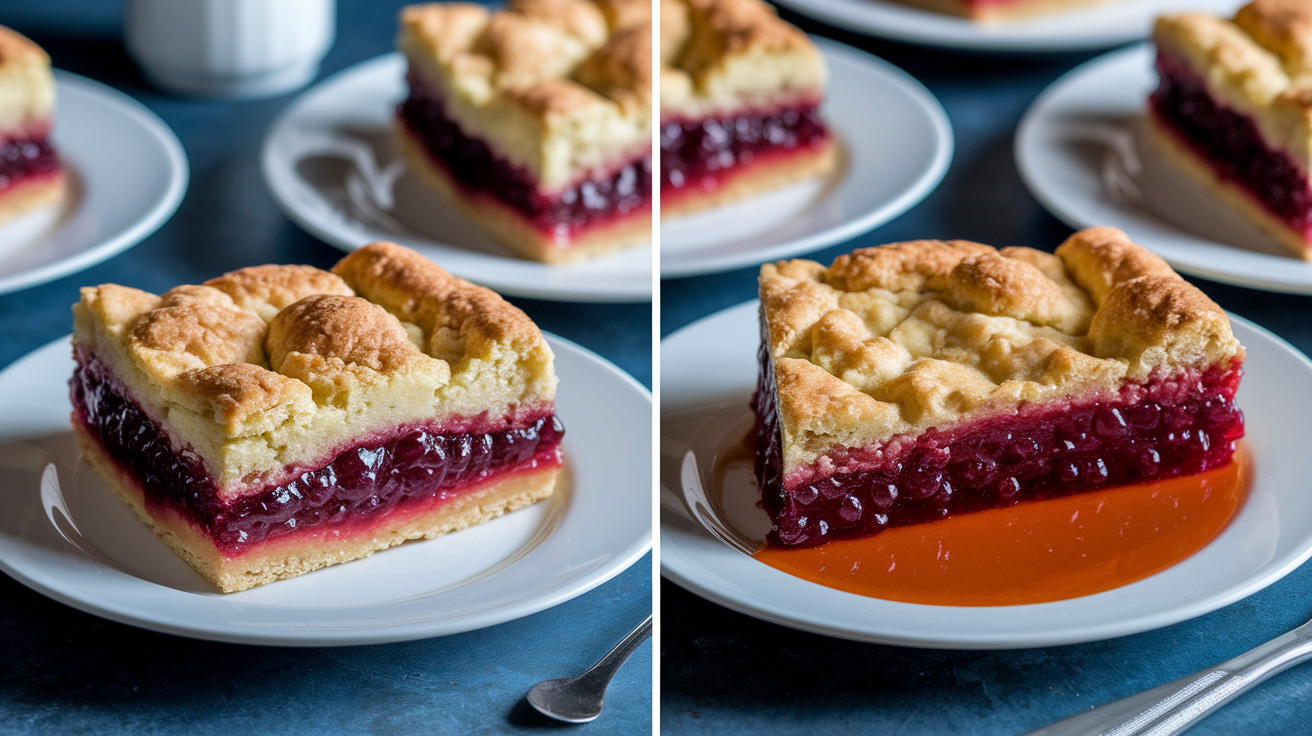
Bake the cobbler at 350°F in a standard home oven, positioning the rack in the center so heat circulates evenly around the dish. The baking time will range from 35 to 45 minutes, depending on your oven and the exact size and depth of your baking dish. Start checking at 35 minutes. The topping should be golden brown with a few deeper brown spots, and the filling should be bubbling actively around the edges of the pan and in any gaps between the topping dollops.
If the top looks pale or the filling isn’t bubbling yet, give it another 5 minutes and check again. Underbaking leaves the topping wet and gooey in the center, which makes it stick to your spoon and collapse when you try to serve it. Fully baked cobbler will feel slightly firm to the touch on top and will hold its shape when you scoop through the topping into the fruit below. Let the cobbler rest for about 10 minutes after you pull it from the oven so the filling can thicken as it cools slightly. This makes serving cleaner and easier.
| Oven Type | Temp | Time | Adjustment Notes |
|---|---|---|---|
| Standard home oven | 350°F | 35–45 minutes | Check at 35 minutes; bake until golden and bubbling |
| Convection oven | 325–335°F | 30–40 minutes | Convection cooks faster; reduce temp by 15–25°F and start checking early |
| Pellet grill or indirect grill | 350°F | 40–50 minutes | Rotate halfway through for even browning; watch for hot spots |
| Countertop oven (Ninja, toaster oven) | 350°F | 35–45 minutes | May need to tent with foil if top browns too fast |
Preventing a Soggy or Runny Peach Cobbler When Using Frozen Fruit
A runny cobbler happens when the filling never thickens properly during baking, which usually means one of three things went wrong. You skipped draining the thawed peaches, you didn’t use enough cornstarch, or you pulled the cobbler out before the filling bubbled long enough to activate the thickener. Cornstarch needs heat and moisture to do its job, so the filling must reach a full, vigorous bubble before the thickening kicks in. If you see only a few lazy bubbles around the edges at the 35-minute mark, leave the cobbler in the oven for another 5 to 10 minutes and keep watching.
Gooey topping is a different problem and usually comes from assembly mistakes, not thickening issues. If you spread the topping batter into one smooth, unbroken layer, steam gets trapped underneath and the center stays wet and raw even after the edges brown. Dropping the batter in spoonfuls with gaps in between lets steam escape and helps the topping bake all the way through. Some recipes tell you to pour peaches on top of the batter, which sounds backward but works for a different style of cobbler. This recipe puts the fruit on the bottom and the topping on top, so don’t flip that order or you’ll end up with a soggy, undercooked mess.
If your cobbler comes out runny even after following the prep steps, you can fix it next time by adding an extra 1/2 teaspoon of cornstarch to the filling or by draining the thawed peaches more thoroughly. You can also let the finished cobbler rest longer before serving (15 to 20 minutes instead of 10) so the filling has more time to set as it cools.
Flavor Boosters for a Frozen Peach Cobbler

Frozen peaches are already sweet, but they can taste a little flat compared to fresh fruit picked at peak ripeness. A few small flavor additions go a long way. The 1 teaspoon of lemon juice called for in the filling brightens the peach flavor and balances the sugar without making the cobbler taste sour or citrusy.
Warm spices like cinnamon and nutmeg work well with peaches, but use a light hand. 1/4 teaspoon of cinnamon or a pinch of nutmeg is enough for 3 cups of fruit. More than that and the spice starts to overpower the peach flavor instead of supporting it. Cardamom is another option if you want something a little different; it has a floral, slightly sweet warmth that pairs beautifully with stone fruit.
- 1/4 teaspoon vanilla extract stirred into the peach filling for a soft, rounded sweetness
- A pinch of kosher salt in the fruit mixture to make the sugar and peach flavor pop
- 1/4 teaspoon ground cinnamon or cardamom for gentle warmth without taking over
- 1 tablespoon brown sugar swapped in for 1 tablespoon of the granulated sugar in the filling for deeper caramel notes
- A light sprinkle of demerara or turbinado sugar on top of the batter before baking for crunch and sparkle
Pan Sizes, Equipment, and Safe Bakeware for Frozen Peach Cobbler
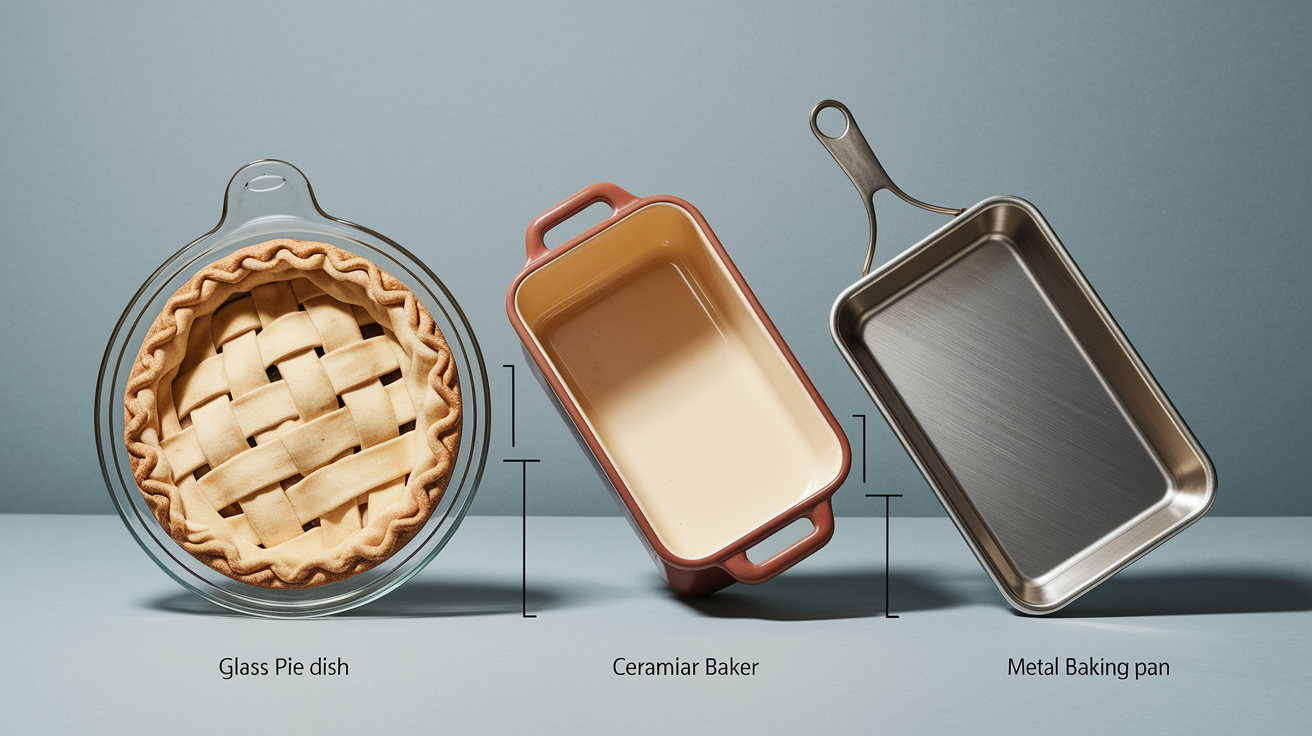
A 9-inch pie dish or an 8×11-inch baking dish both work well for this recipe and give you the right balance of filling to topping. The pie dish creates a taller cobbler with thicker topping layers, while the rectangular pan spreads everything out a bit more and gives you more crispy edges. Either way, make sure your dish is at least 2 inches deep so the filling has room to bubble without spilling over the sides.
Glass, ceramic, and metal pans all bake cobbler successfully, but glass bakeware needs a little extra caution when you’re working with frozen or very cold fruit. Sudden temperature changes can crack glass, so always thaw and drain your peaches completely before assembling the cobbler, and never put a cold glass dish straight into a hot oven. If you prefer glass for easy cleanup and even heat distribution, just make sure the fruit is fully thawed and the dish is at room temperature before it goes into the preheated oven. Metal and ceramic pans are more forgiving with temperature shock, so they’re safer choices if you’re in a hurry or if you sometimes forget to let ingredients come to room temperature.
Serving a Warm Peach Cobbler Made with Frozen Peaches
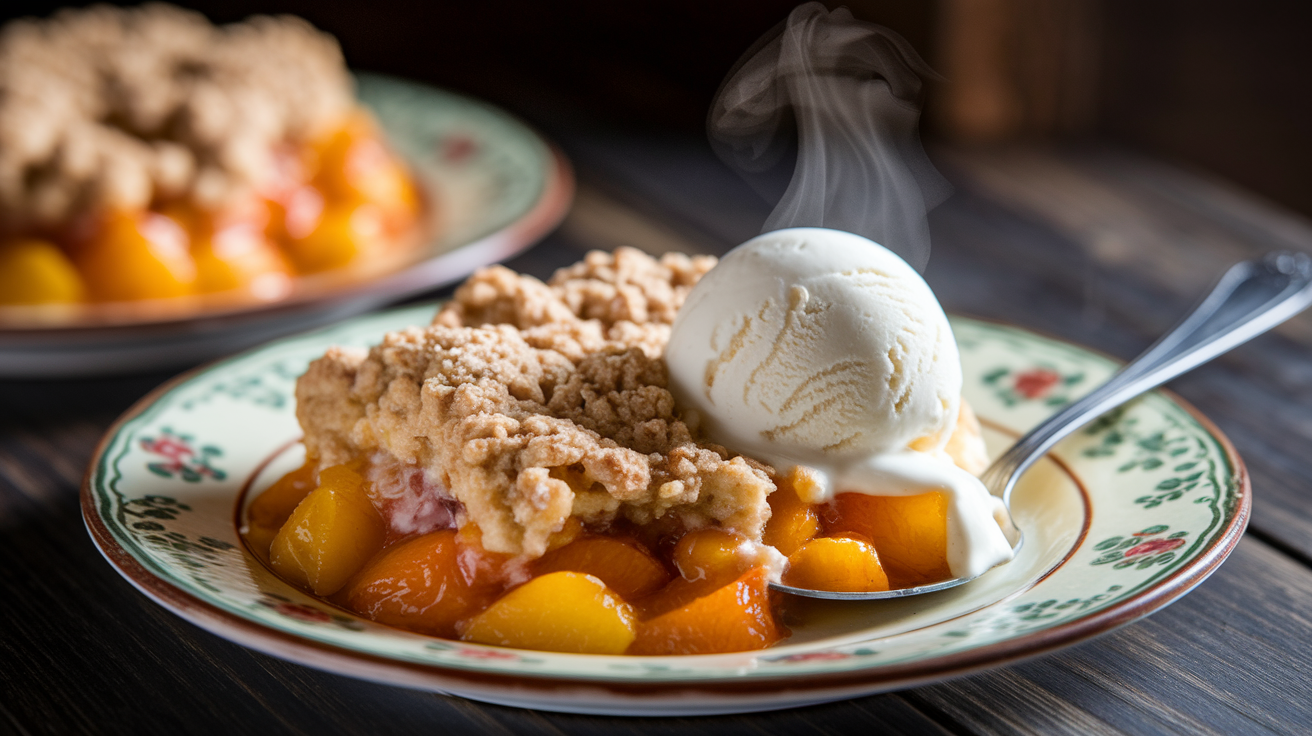
Cobbler is best served warm, but not straight-out-of-the-oven hot. Let it rest for 10 to 15 minutes after baking so the topping sets slightly and the filling thickens enough to scoop cleanly without running all over the plate. The topping will still be soft and tender, and the fruit will still be steamy and jammy, but you won’t burn your mouth or lose half the filling when you dig in.
Vanilla ice cream is the classic pairing. One scoop per serving, added right before you bring the cobbler to the table so it starts melting into the warm fruit. Unsweetened whipped cream is another option if you want something lighter and less sweet. The author of the original recipe specifically recommends unsweetened whipped cream because the cobbler already has plenty of sugar, and plain cream lets the peach flavor stay front and center.
- Vanilla ice cream (one scoop per serving, added at the table)
- Unsweetened whipped cream (freshly whipped, not the sweetened kind from a can)
- Vanilla custard or crème anglaise (if you want something rich and silky instead of cold and creamy)
Storing, Freezing, and Reheating a Cobbler Made with Frozen Peaches
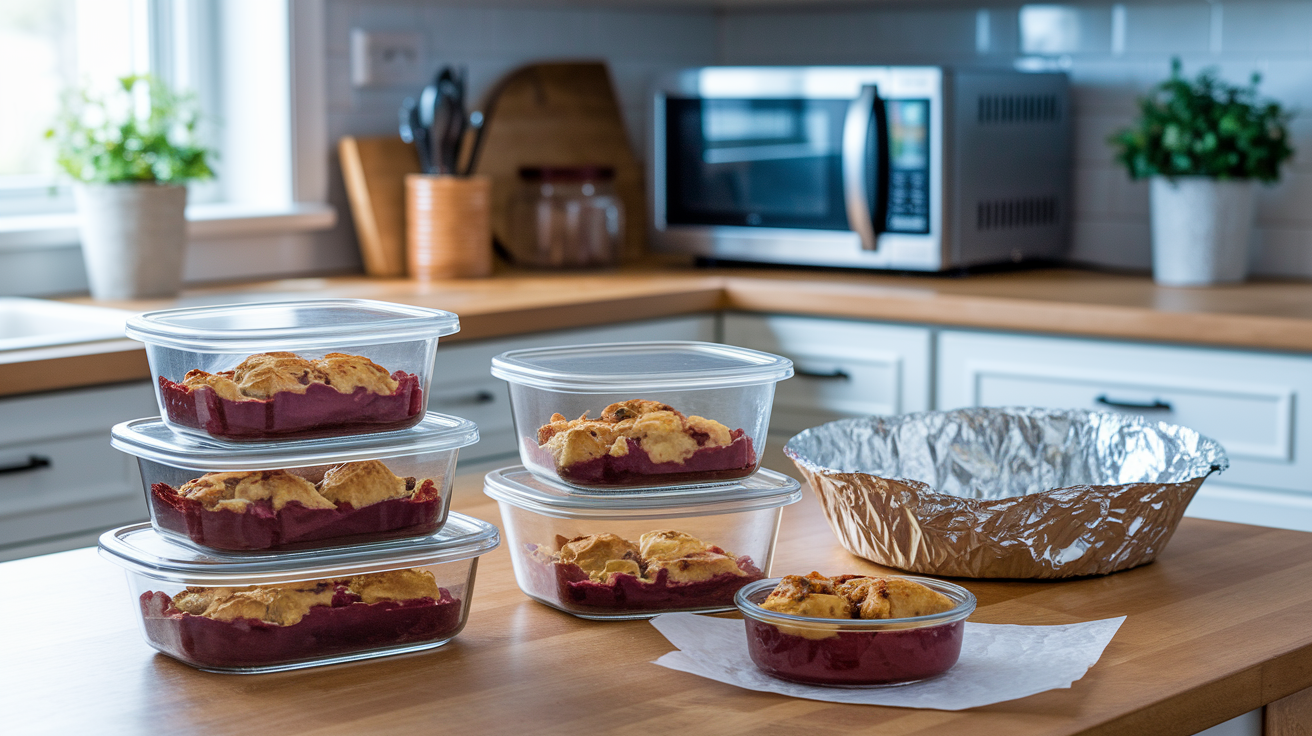
Leftover cobbler keeps at room temperature for up to 2 days as long as you cover it loosely with foil or plastic wrap. After 2 days, move it to the refrigerator where it’ll stay good for up to 5 days in an airtight container. The topping will soften a little in the fridge, but reheating brings back most of the texture.
You can freeze baked cobbler for up to 3 months, but don’t freeze the unbaked assembled dish. The topping turns soggy and doesn’t bake properly after thawing. Let the baked cobbler cool completely, wrap it tightly in plastic wrap and then in aluminum foil, and freeze in portions or as a whole. Thaw overnight in the refrigerator before reheating.
-
Oven reheating: Cover the cobbler loosely with foil and reheat at 325°F to 350°F for 15 to 20 minutes, until warmed through. Remove the foil for the last 5 minutes if you want to crisp the topping slightly.
-
Microwave reheating: Place a single serving on a microwave-safe plate and heat at 50 to 70 percent power for 30 to 60 seconds. Check and add time in 15-second bursts if needed. Microwaving on full power can make the topping rubbery.
-
Air fryer reheating: Preheat the air fryer to 325°F, place a portion of cobbler in an oven-safe dish that fits the basket, and heat for 5 to 8 minutes until warm and slightly crisped on top.
-
Stovetop reheating (small portions): Warm a single serving in a small skillet over low heat, covered, for 3 to 5 minutes, stirring gently once or twice so the filling heats evenly without scorching.
-
Make-ahead assembly: Prepare the peach filling and refrigerate it in the baking dish for up to 24 hours before baking. Mix and drop the topping just before you put the cobbler in the oven so the baking powder stays active and the topping rises properly.
Final Words
Start by thawing and draining your frozen peaches so the filling won’t be runny. The post gives a 10-step workflow and points to the peach-prep section for thawing details.
You saw exact ingredient amounts, how to make the drop-biscuit topping, assembly, and baking at 350°F until the topping is golden and the filling bubbles. Troubleshooting, flavor boosts, pan tips, and storing/reheating are all covered.
Now you’ve got a clear peach cobbler using frozen peaches step by step plan that’s easy to follow and sure to please. Go bake it. Warm servings and a scoop of ice cream await.
FAQ
Q: Do you thaw frozen peaches before making or baking a cobbler?
A: You should thaw frozen peaches before making or baking a cobbler. Thaw and drain excess juice, or add a bit more cornstarch (scant 1 tbsp) so the filling isn’t runny.
Q: Can I use frozen fruit to make a cobbler?
A: You can use frozen fruit to make a cobbler. Use about 3 cups peaches, adjust sugar to taste, thaw and drain or boost cornstarch, and bake until the filling bubbles and the topping is golden.
Q: What are the most common mistakes when making peach cobbler?
A: The most common mistakes when making peach cobbler are using unthawed, juicy fruit without draining, skimping on thickener, covering fruit with batter (causes gooey centers), and stopping the bake before the filling bubbles.
