

Think gluten-free toppings are always dry and dense?
Think again — a tiny trick turns a few pantry staples into a buttery, perfectly crumbly topping that makes fruit sing.
In this post you’ll get a dead-simple 1:1:1 ratio, the melted-butter pour that creates golden edges and crunchy pockets, and quick swaps for almond, vegan, or frozen fruit.
Follow it and you’ll have a quick gluten free fruit cobbler topping recipe that bakes crisp on top, soft underneath, and is basically impossible to mess up.
Complete Gluten‑Free Cobbler Topping Recipe (First, Fastest Way to Fulfill the Search)
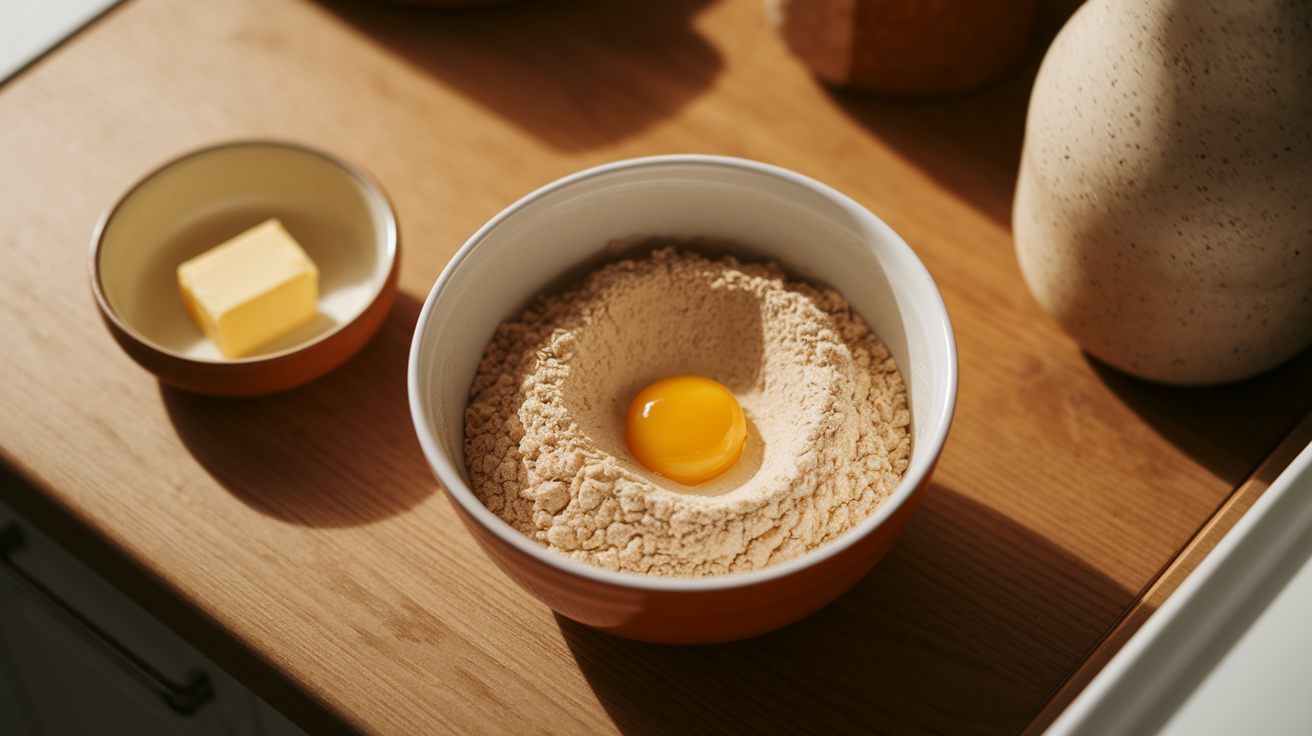
The fastest way to get cobbler on the table tonight? Start with this dead-simple ratio: 1 egg, 1 cup granulated sugar, and 1 cup gluten-free all-purpose flour (about 135 grams). Grab a fork, stir those three together in one bowl until it looks crumbly. Don’t touch the butter yet.
Dump 2 or more cups of fruit into an 8×8 baking dish or a 9-inch pie plate. Fresh, frozen, whatever’s in your fridge. Scatter the crumbly mix over the top, then pour 1/4 cup melted butter slowly across everything. The butter seeps through as it bakes and creates these pockets of crisp, golden topping that taste almost like cookies.
Bake at 350°F for 35 to 40 minutes. You’re looking for the fruit to bubble in the middle and the topping to turn lightly browned with a few deeper spots. Want extra crispness? Switch to convection for the last 10 minutes. Pulls moisture right out and gives you those crunchy edges people fight over. The whole thing comes together in one bowl.
This works with peaches, mixed berries, cherries, plums, apples, pears, or whatever combination needs to get used up. Frozen fruit? Don’t bother thawing it. Just toss it straight into the pan and add a couple extra minutes to the bake. The crumbly texture you stir together transforms into a crisp layer with soft spots underneath where the butter pooled. It holds its shape on a spoon but melts right into the warm fruit when you dig in.
Step by step:
- Whisk 1 cup sugar, 1 egg, and 1 cup gluten-free all-purpose flour with a fork until it looks like damp crumbs.
- Spread 2+ cups of fruit evenly across a greased 8×8 or 9-inch baking dish.
- Scatter the crumb mixture over the fruit. Don’t press it down.
- Pour 1/4 cup melted butter slowly over the crumbs so it drizzles through.
- Bake at 350°F for 35 to 40 minutes until the fruit bubbles in the center and the topping’s golden, then rest it 10 minutes before serving.
Best Gluten‑Free Flours for Cobbler Toppings (Almond, Coconut, GF Blend)
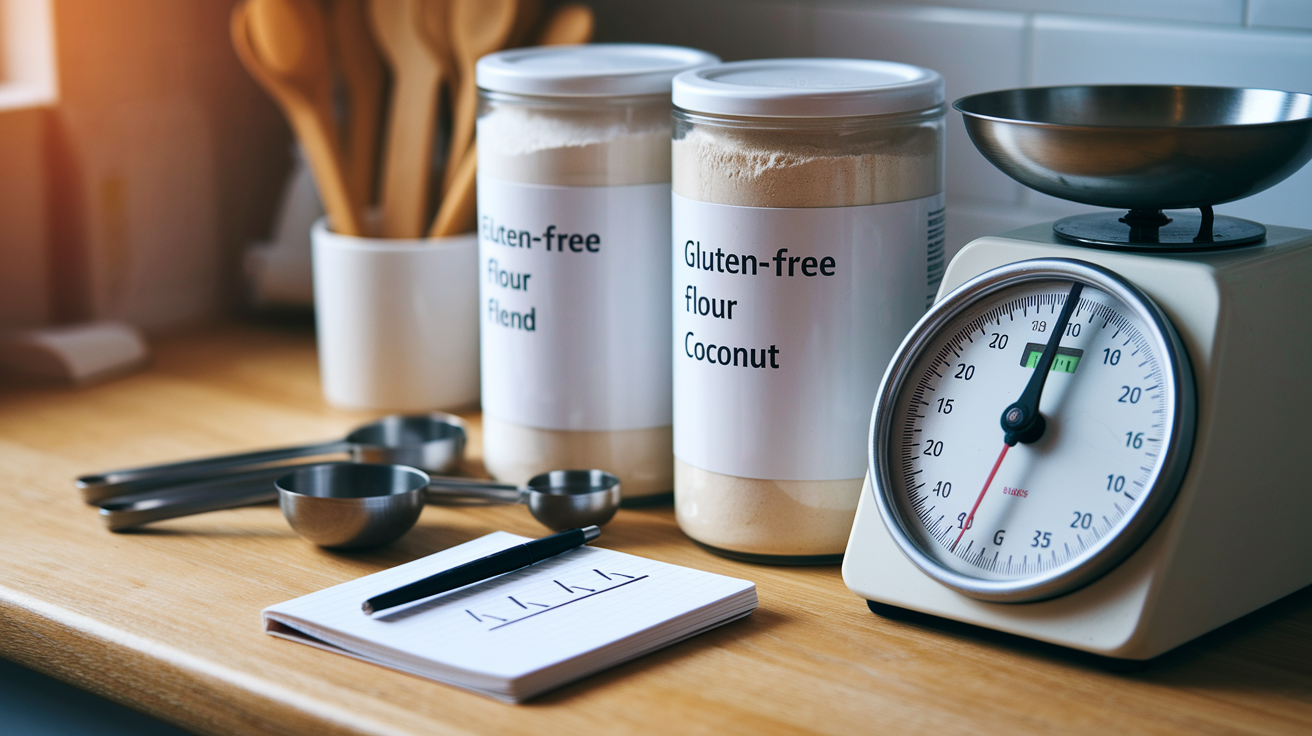
A good gluten-free all-purpose blend is your safest bet here. Most weigh around 135 grams per cup and already have binders like xanthan gum or guar gum built in to hold everything together without turning gummy. You can swap in regular wheat flour at the same measurement if gluten isn’t a concern. The 1:1:1 rule stays exactly the same.
Almond flour and coconut flour aren’t simple swaps. Both soak up way more moisture than starch-based blends, so a direct swap leaves you with either a dense brick or a sticky mess. If you’d rather build your own blend, try this: 1/2 cup superfine brown rice flour, 1/4 cup potato starch, and 1/4 cup tapioca starch. You’ll get a light, slightly crisp topping with enough structure to hold the crumbles. Potato starch keeps it fluffy, tapioca adds chew, and the brown rice flour gives you a neutral, almost buttery flavor.
Quick flour swap guide:
- Gluten-free all-purpose blend – Easiest option, no adjustments needed, gives you a tender, cookie-like topping.
- Custom starch blend – More control, a bit more work, crisper finish.
- Almond flour alone – You’ll need to rebalance the recipe (more egg, less liquid). Denser, nuttier topping.
- Coconut flour – Skip it. Too dry and unpredictable.
How to Make a Crisp, Golden Gluten‑Free Cobbler Topping

Here’s the trick: pour melted butter over the crumbles after you scatter them on the fruit. Don’t mix it into the bowl. That lets the butter soak through in uneven pockets and creates crispy spots where it pools and softer, biscuit-like areas where the fruit steam rises. The uneven texture is what makes cobbler topping actually interesting. Stir the butter into the dry mix first and you end up with a uniform, cake-like layer instead of those crunchy, buttery peaks.
Switching to convection for the last 10 minutes pulls moisture out of the topping surface and helps browning without drying out the fruit underneath. No convection? Just move the dish to the top rack for the final few minutes. You’ll know it’s done when the fruit juices are bubbling at the center (not just along the edges) and the topping’s turned golden brown with a few deeper caramelized spots. Let it rest for 10 minutes after baking so the juices thicken a bit and the topping firms up enough to scoop cleanly.
Gluten‑Free Cobbler Topping Variations (Biscuit, Crumb, Streusel)
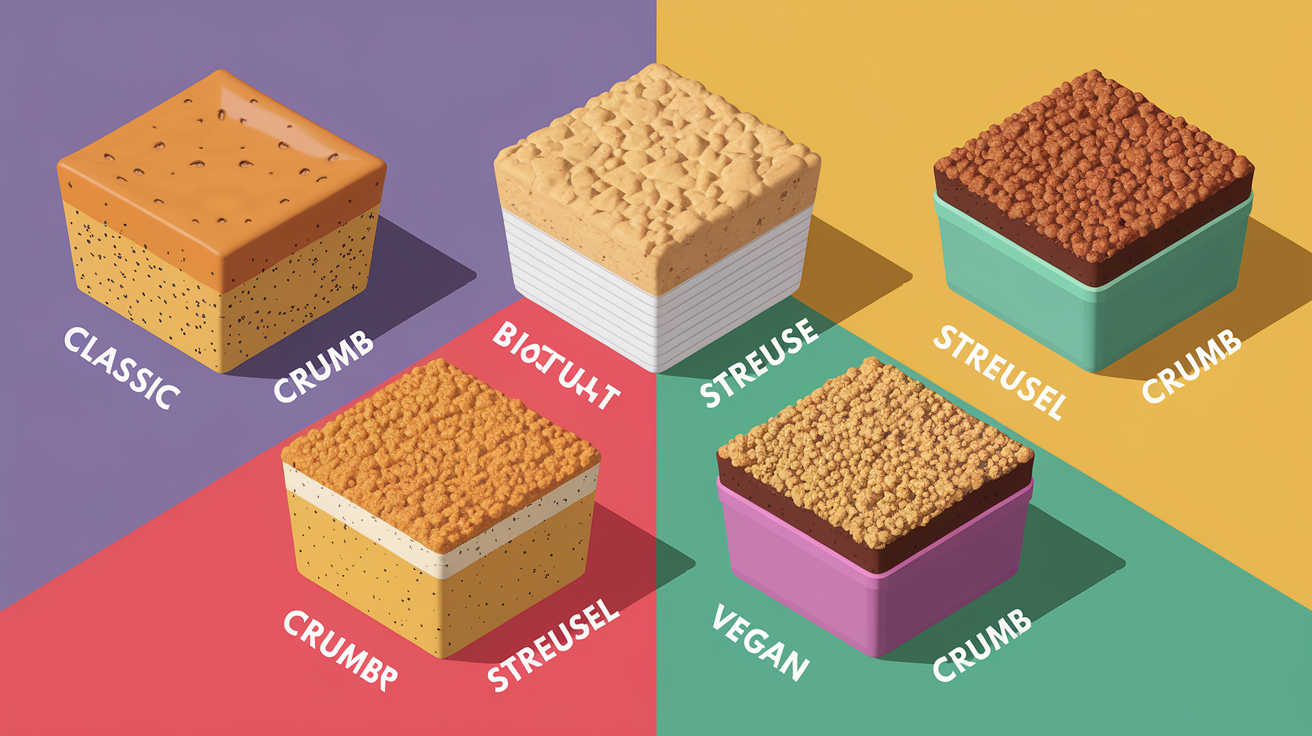
The basic 1:1:1 crumb topping is just one option. You can shift the texture and richness by tweaking the method and a few ingredients. All of these work with the same fruit base, so you can match the topping style to whatever you’re craving tonight.
Four topping styles:
-
Classic crumb topping (1:1:1 rule) – Sugar, egg, flour stirred to crumbs, butter drizzled on top. Bakes up crisp and almost cookie-like. Best for berries, peaches, and plums when you want something simple that feels like dessert.
-
Biscuit-style topping – Add 1 teaspoon baking powder to the dry mix, cut cold butter into the flour before adding the egg, and drop spoonfuls of dough over the fruit instead of scattering crumbs. Bakes into fluffy, golden biscuits with soft centers. Works well with apples, pears, and cherry fillings when you want something heartier and breakfast-friendly.
-
Streusel topping – Swap half the sugar for brown sugar, add 1/4 cup chopped nuts or gluten-free oats, and cut cold butter into the dry ingredients instead of melting it. Rub the mixture with your fingers until it clumps. Gives you a chunky, nutty topping with more texture. Perfect for stone fruits like peaches and apricots or mixed berry blends.
-
Vegan crumb topping – Replace the egg with 2 tablespoons mild oil plus 4 tablespoons water plus 4 teaspoons baking powder, whisked together. Use cold vegan butter and cut it into the dry mix instead of drizzling melted butter. The result’s slightly more tender and less crisp but still crumbly and satisfying. Add 1/4 cup chopped almonds or gluten-free granola for extra crunch.
Each variation takes the same amount of time to prep, so it comes down to texture preference and what’s in the pantry. The classic crumb’s the easiest and most foolproof, especially if this is your first gluten-free cobbler.
Fruit Pairings That Work Best with Gluten‑Free Toppings

The topping itself is neutral and slightly sweet, which means it plays well with nearly any fruit. Peaches are a classic. Add 1 tablespoon ground cinnamon to the fruit filling to bring out the warm, jammy flavor. Mixed berries work beautifully because their tartness balances the sweetness of the topping. Cherries, plums, apples, pears, and rhubarb-berry combinations all bake up tender and juicy under the crumbly layer. Use at least 2 cups of fruit to cover the bottom of an 8×8 or 9-inch pan. Add more if you like a thicker filling.
Frozen fruit’s just as reliable as fresh and often more practical. Toss it straight into the pan without thawing. Expect the bake time to stretch by 5 to 10 minutes. Canned fruit works too, just drain it well so the extra liquid doesn’t make the topping soggy. Sweeten the fruit filling with 1/4 cup sugar, adjusting up or down depending on how tart the fruit tastes. A squeeze of lemon juice or a pinch of citrus zest sharpens the fruit flavor and keeps the cobbler from tasting flat.
| Fruit Type | Best Topping Style | Flavor Boosters |
|---|---|---|
| Peaches, apricots, nectarines | Classic crumb or streusel | Cinnamon, vanilla, orange zest |
| Mixed berries, cherries | Biscuit-style or classic crumb | Lemon zest, almond extract, lime juice |
| Apples, pears, rhubarb | Streusel or biscuit-style | Cardamom, brown sugar, ginger |
Dietary Swaps for Gluten‑Free Cobbler Toppings (Vegan, Dairy‑Free, Paleo)

Making the topping vegan means replacing the egg and the butter without losing the crumbly texture. Whisk together 2 tablespoons mild oil (like melted coconut oil or avocado oil), 4 tablespoons water, and 4 teaspoons baking powder until smooth. Use that mixture in place of the egg, and swap the melted butter for cold vegan butter that you cut into the dry ingredients with a fork or your fingers. The result’s slightly more tender and less crisp than the classic version, but it still bakes up golden and crumbly. Add 1/4 cup chopped almonds, pecans, or gluten-free oats to the topping for extra texture.
Dairy-free swaps are simpler. Use any non-dairy butter in place of regular butter at a 1:1 ratio, and proceed with the recipe exactly as written. Coconut oil works too, but make sure it’s solid and scoopable before you drizzle it over the crumbs. If the oil’s too liquid, chill the jar for 30 minutes, stir, and let it rest another 30 minutes until it firms up evenly. The topping will taste slightly more coconut-forward, which pairs well with tropical fruits like mango or pineapple.
Paleo-friendly toppings require swapping out the starches and sticking to nut-based flours. Almond flour’s the most common choice, but it absorbs more moisture than potato starch or tapioca, so you’ll need to adjust the wet ingredients slightly. Start with the vegan egg substitute listed above, use 1 cup almond flour in place of the gluten-free blend, and add 1 to 2 tablespoons extra melted coconut oil if the mixture looks too dry. The topping will be denser and more cake-like, but it still crisps up nicely around the edges. Cashew flour or finely ground sunflower seeds work as nut-free paleo alternatives.
Four common dietary swaps:
- Egg-free (flax egg) – Mix 1 tablespoon ground flaxseed with 3 tablespoons water, let sit 5 minutes until thick, use in place of egg. Topping will be slightly denser.
- Egg-free (aquafaba) – Use 3 tablespoons aquafaba (chickpea liquid) in place of egg. Topping will be lighter and slightly more cake-like.
- Dairy-free butter – Swap 1:1 for regular butter. No other changes needed. Flavor stays neutral.
- Paleo (almond flour base) – Replace gluten-free blend with almond flour. Add extra oil or egg if too dry. Expect a denser, nuttier topping.
Fixing Common Gluten‑Free Cobbler Topping Problems
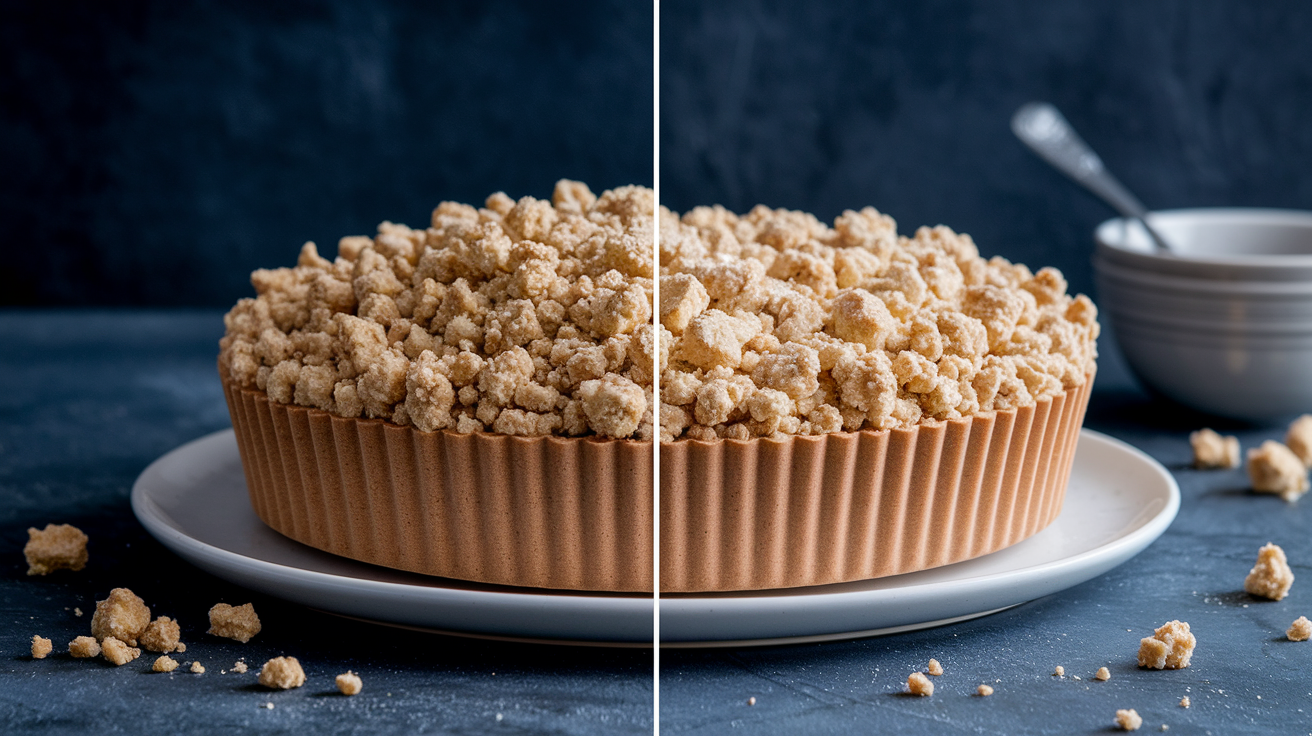
Dense, heavy topping usually comes from overmixing or using too much starchy flour without enough lightening agents like baking powder. Stir the crumbles just until combined, and resist pressing them down onto the fruit. The topping needs air pockets to bake up light and crisp. If you’re using a custom flour blend heavy on potato starch or tapioca, add 1/2 teaspoon baking powder to the dry mix to help lift the texture.
Soggy topping happens when the fruit releases too much liquid during baking and the crumbles absorb it before they crisp. Fix this by adding 1 to 2 tablespoons tapioca starch or cornstarch to the fruit before assembling the cobbler. Toss the fruit with the starch and sugar, then let it sit for 5 minutes so the starch starts to absorb the juice. That thickens the filling as it bakes and keeps the topping dry. If the topping goes soggy after refrigeration, re-crisp it by reheating the cobbler in a 350°F oven for 10 to 15 minutes.
Five topping problems and quick fixes:
- Too dense – Overmixed or too much starch. Add 1/2 tsp baking powder next time and stir gently.
- Too soggy – Fruit too juicy or crumbs pressed down. Add 1 to 2 tbsp thickener to fruit and don’t compact topping.
- Burns before fruit bubbles – Oven too hot. Lower temp to 325°F and extend bake time by 10 minutes.
- Topping stays pale – Not enough butter or oven too cool. Increase butter by 1 tbsp or raise temp to 375°F.
- Crumbles fall apart – Not enough egg or fat. Make sure egg’s beaten well and butter’s evenly distributed.
Storing, Reheating, and Making Gluten‑Free Toppings Ahead

Unbaked topping dough can be frozen for up to one month, which makes weeknight cobbler almost instant. Mix the crumbles, spread them on a parchment-lined baking sheet, freeze until solid, then transfer to a freezer bag. When you’re ready to bake, scatter the frozen crumbles over your fruit and drizzle the melted butter on top. Add 5 to 10 extra minutes to the bake time to account for the frozen topping.
Baked cobbler keeps in the refrigerator for up to four days, covered loosely with foil or plastic wrap. The topping will soften slightly as it sits, but you can bring back the crisp by reheating individual servings in a 350°F oven for 10 minutes. Microwaving works in a pinch, but the topping stays soft instead of crisping up. Let the cobbler cool completely before cutting and storing so the fruit juices thicken and the topping sets. Cutting too soon means runny filling and soggy crumbles.
Three storage and make-ahead strategies:
- Freeze unbaked topping – Spread crumbles on a sheet, freeze solid, bag, and store up to 1 month. Bake from frozen, adding 5 to 10 minutes.
- Refrigerate baked cobbler – Cover and store up to 4 days. Re-crisp in oven at 350°F for 10 to 15 minutes before serving.
- Prep fruit filling ahead – Toss fruit with sugar and thickener, refrigerate up to 24 hours, then add topping and bake when ready.
Equipment & Measurement Tips for Reliable Gluten‑Free Cobbler Toppings

You only need one bowl, a fork, and a baking dish to make this topping. That’s part of why it works so well for weeknight desserts. An 8×8 or 9-inch round baking dish holds a standard batch perfectly, giving you a thick layer of topping over the fruit. If you use a 9×13 pan, double the topping recipe to keep the right topping-to-fruit ratio, or accept a thinner layer if you prefer more fruit. Ceramic, glass, and metal pans all work, though metal bakes slightly faster and crisps the edges more.
Four essential tools and tips:
- One mixing bowl – Stir the crumbles with a fork. No electric mixer needed.
- 8×8 or 9-inch baking dish – Greased lightly to prevent sticking. Deeper dishes hold more fruit.
- Small saucepan or microwave-safe bowl – Melt the butter just before drizzling. Don’t overheat.
- Kitchen scale (optional but helpful) – Weigh flour to 135 grams per cup for consistent results. Volume measures can vary by brand.
Measure the flour by spooning it into the measuring cup and leveling it off with a knife, or weigh it if you have a scale. Scooping directly from the bag packs the flour and can add 20 to 30 extra grams per cup, which makes the topping dense. Gluten-free flours vary in weight and absorbency by brand, so sticking to grams gives you the most reliable results batch after batch.
Serving Ideas for Gluten‑Free Cobbler Toppings (Ice Cream, Whipped Cream, Breakfast Options)

Serve the cobbler warm with a scoop of vanilla bean coconut ice cream melting into the fruit, or keep it simple with a dollop of whipped coconut cream. Both balance the sweetness of the topping and add a creamy contrast to the jammy fruit. If you’re eating it for breakfast, skip the ice cream and pair it with plain Greek yogurt or coconut yogurt instead. The tartness cuts through the sugar and makes the whole thing feel less dessert-y.
Leftovers hold up well cold, especially the next morning with coffee. The topping softens slightly overnight, so the texture lands somewhere between coffee cake and a fruit-filled muffin top. A light dusting of powdered sugar or a drizzle of honey adds a little extra sweetness if the fruit filling leans tart. You can also warm individual servings in the microwave for 30 seconds, though the topping will stay soft unless you re-crisp it in the oven.
Final Words
Toss together the 1:1:1 crumb mix, scatter it over your fruit, and drizzle the 1/4 cup melted butter. Bake on the middle rack until the filling is bubbling and the top is golden and a little cookie-crisp.
Swap in GF blends or try almond for nuttier texture, and finish with convection for extra crunch. Double the topping for a 9×13 pan.
You now have a reliable, easy gluten free fruit cobbler topping recipe to reach for when fruit needs using. Happy baking.
FAQ
Q: What is the simplest gluten-free cobbler topping recipe?
A: The simplest gluten-free cobbler topping recipe uses 1 egg, 1 cup sugar, 1 cup gluten-free flour (135 g). Fork-mix until crumbly, scatter over fruit, drizzle 1/4 cup melted butter, bake 350°F 35–40 minutes.
Q: Which gluten-free flours work best for cobbler toppings?
A: The best gluten-free flours for cobbler toppings are GF all-purpose blends measured at 135 g per cup. Almond or coconut absorb more moisture and change texture; try a custom blend for a reliable, tender crumb.
Q: How do I get a crisp, golden gluten-free cobbler topping?
A: To get a crisp, golden gluten-free topping, pour melted butter over the crumbs and bake on the middle rack. Finish with convection for the last 10 minutes and bake until edges are bubbling and top is golden.
Q: What topping variations work for gluten-free cobblers?
A: Topping variations include biscuit-style (baking powder and egg for fluffy drop biscuits), crumb 1:1:1 (quick, cookie-like crisp), streusel with GF oats for crunch, and vegan crumb using cold vegan butter.
Q: Which fruits pair best with gluten-free cobbler toppings and what flavor boosts help?
A: The best fruits are peaches, mixed berries, cherries, apples, pears, plums, and rhubarb. Add cinnamon for peaches, lemon zest for berries, or orange zest for stone fruit to brighten the flavor.
Q: How can I make a gluten-free cobbler topping vegan or dairy-free?
A: To make a vegan topping, use a vegan egg swap (2 tbsp oil + 4 tbsp water + 4 tsp baking powder) and 1:1 dairy-free butter. Flax egg or aquafaba also bind well.
Q: Why does my gluten-free cobbler topping turn dense or soggy, and how do I fix it?
A: A dense topping usually means overmixing or too-starchy flour; soggy topping means not enough thickener or pressed-down biscuits. Fixes: mix gently, add more thickener for juicy fruit, re-crisp in a hot oven.
Q: Can I make the topping ahead or freeze it?
A: You can freeze raw topping dough for up to one month. Make ahead, store frozen in a tight container, bake from frozen adding a few extra minutes, and re-crisp leftovers in a hot oven before serving.
Q: What equipment and measuring tips give reliable gluten-free topping results?
A: For reliable results use an 8×8 or 9-inch pan; double the topping for a 9×13. Measure flour at 135 g per cup, and you only need a fork and one bowl to mix the crumbs.
Q: How should I serve gluten-free cobbler for best flavor and texture?
A: Serve gluten-free cobbler warm with a steamy scoop of vanilla coconut ice cream or whipped topping. Add a sprinkle of cinnamon or citrus zest to lift flavors and contrast the buttery crisp top.
