

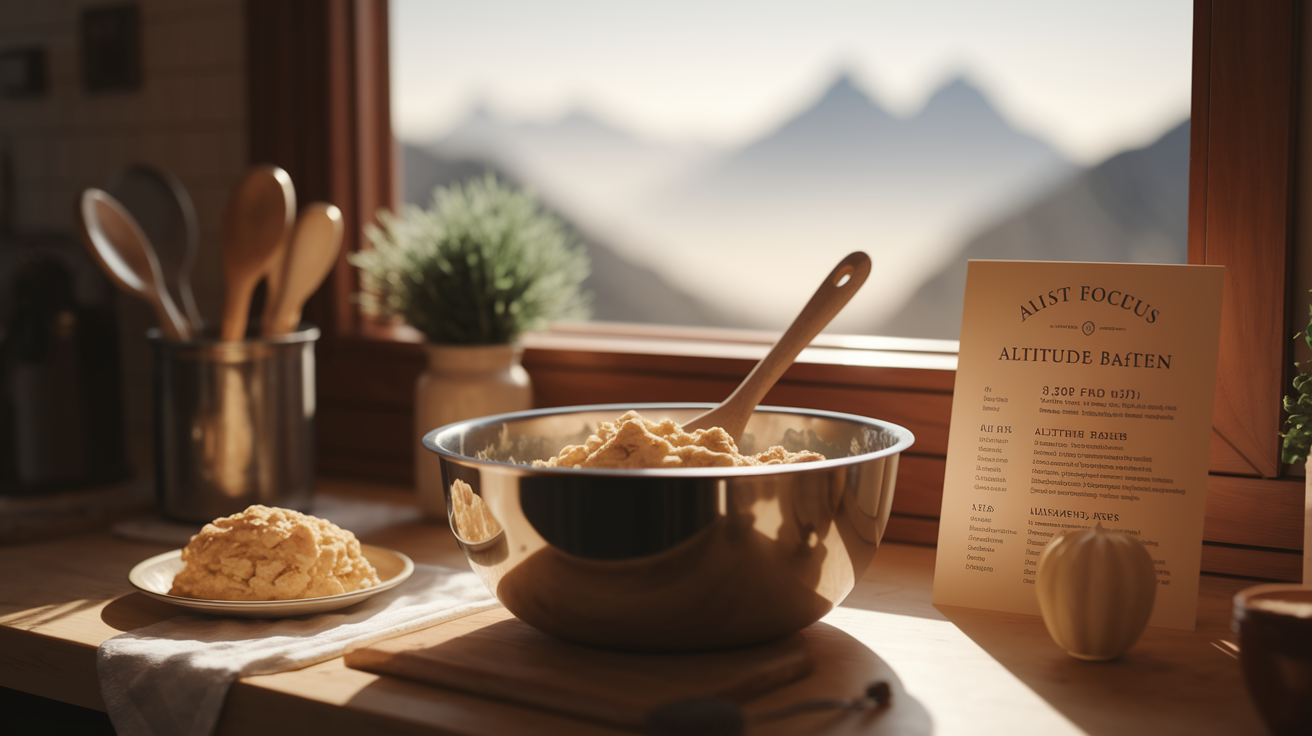
Think high altitude ruins cobblers?
It doesn’t if you change a few simple things in the recipe.
At 3,000 feet air pressure makes leaveners puff too fast, liquids evaporate quicker, and toppings rise then collapse, so the fix targets topping and filling separately with clear, elevation-based tweaks.
This post gives exact changes on how much to cut baking powder, how much extra liquid and flour to add, and when to raise the oven, so your cobbler comes out golden, jammy, and sturdy every time, even at 8,000 feet.
Core High-Altitude Cobbler Modifications for Immediate Baking Success
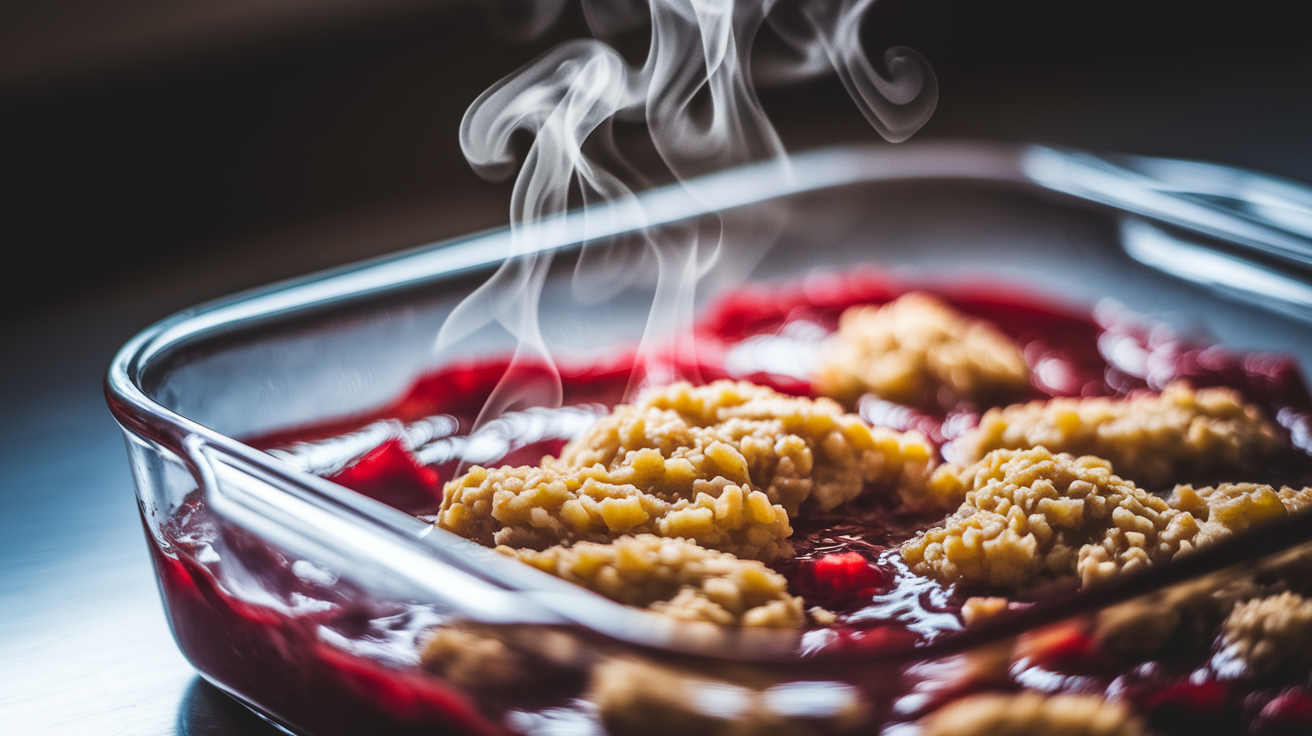
Baking a cobbler above 3,000 feet? The rules change. Reduced air pressure makes leavening agents expand faster, liquids evaporate quicker, and structure set later. You’ll get toppings that rise beautifully, then collapse right into the fruit. Fillings turn gummy instead of jammy. Edges burn while centers stay raw.
These problems show up around 3,500 feet and get worse as you climb. Understanding what’s actually happening inside your oven is the first step toward a cobbler that holds its shape, tastes balanced, and comes out golden and bubbling.
The formula for high-altitude success targets topping and filling separately. For the topping, you need to reduce leavening to prevent over-expansion, add a bit of flour to strengthen structure, cut back sugar to avoid weakening the batter, and increase liquid to offset rapid moisture loss. For the fruit filling, increase liquid so juices don’t concentrate into syrup too fast, reduce sugar slightly for the same reason, and consider pre-cooking the fruit so it finishes at the same time as the topping.
The exact changes depend on your elevation. Between 3,500 and 6,500 feet, you’ll reduce leavening by roughly 1/8 teaspoon per teaspoon called for in the recipe, reduce sugar by about 1 tablespoon per cup, and add 1 to 2 tablespoons of extra liquid per cup. Above 6,500 feet, the adjustments grow. Leavening drops by 1/8 to 1/4 teaspoon per teaspoon, sugar by up to 2 tablespoons per cup, and liquid increases to 2 to 4 tablespoons per cup. Above 8,500 feet, leavening cuts reach 1/4 teaspoon per teaspoon and liquids may need 3 to 4 extra tablespoons per cup.
Flour strength: Add 1 tablespoon of flour at 3,500 feet, then add another tablespoon for every additional 1,500 feet of elevation.
Sugar reduction: Reduce sugar by 1 to 2 tablespoons per cup to prevent structural collapse and overly sweet, concentrated fillings.
Liquid increases: Add 1 to 4 tablespoons of extra liquid per cup depending on elevation to keep both topping and filling moist.
Leavening cuts: Reduce baking powder by 1/8 to 1/4 teaspoon per teaspoon to prevent excessive rise and sunken centers.
Oven temperature: Raise the temperature by 15 to 25 degrees Fahrenheit to help the topping set before it over-expands.
Filling adjustments: Increase fruit syrup or juice by the same per-cup liquid ratio and reduce sugar to keep the filling from turning sticky or dry.
Elevation-Based Cobbler Adjustment Chart for Reliable Results

Structured conversion charts remove the guesswork. Instead of vague advice to “add a bit more liquid” or “reduce baking powder slightly,” a clear chart gives you exact teaspoon and tablespoon changes per cup of ingredients. These numbers are starting points, but they let you adjust systematically and record what works for your specific elevation and recipe.
| Elevation Range | Leavening Change (per tsp) | Sugar Change (per cup) | Liquid Change (per cup) | Flour Increase (total) |
|---|---|---|---|---|
| 3,500–6,500 ft | −1/8 tsp | −1 tbsp | +1–2 tbsp | +1 tbsp at 3,500 ft, +2 tbsp at 5,000 ft |
| 6,500–8,500 ft | −1/8 to −1/4 tsp | −2 tbsp | +2–4 tbsp | +3 tbsp at 6,500 ft, +4 tbsp at 8,000 ft |
| 8,500–10,000 ft | −1/4 tsp | −1 to −3 tbsp | +3–4 tbsp | +4 to +5 tbsp (add 1 tbsp per 1,500 ft) |
Strengthening Cobbler Toppings Through Unified Structure Controls

At altitude, cobbler toppings rise fast and often collapse before the structure sets. Lower air pressure causes leavening gases to expand more aggressively, and moisture evaporates so quickly that the batter dries out or sets unevenly.
Flour is the structural backbone. Adding extra flour builds a stronger gluten network that can hold the topping upright as it bakes. Start with 1 tablespoon of additional flour at 3,500 feet, then add another tablespoon for each 1,500 feet above that. This small increase makes a noticeable difference in how well the topping holds its shape, especially in biscuit and drop-style toppings where structure relies on a delicate balance of flour, fat, and liquid.
Flour increase by elevation: Add 1 tablespoon at 3,500 feet, 2 tablespoons at 5,000 feet, 3 tablespoons at 6,500 feet, and 4 tablespoons at 8,000 feet.
Egg control: Use extra-large eggs to add both structure and moisture without adding separate liquid. Avoid over-whipping eggs or over-creaming butter and sugar, which incorporates too much air and increases the risk of collapse.
Fat reduction for rich toppings: If your biscuit topping is very rich (butter, shortening, or both), reduce the total fat by 1 to 2 tablespoons. Too much fat weakens the structure and makes the topping more likely to sink into the hot fruit.
Gentle handling: Mix biscuit dough just until combined. Over-mixing develops too much gluten, which makes the topping tough, but under-mixing leaves pockets of dry flour. Rolled dough should be handled lightly and quickly to avoid overworking the fat into the flour.
Drop-biscuit toppings are most vulnerable to collapse because they rely entirely on chemical leavening and a wet batter. Dumpling-style toppings benefit from slightly more flour and less incorporated air. Rolled biscuit toppings are the most forgiving because the layered fat and flour create natural structure, but they still need the extra flour and reduced leavening to avoid puffing up and then deflating mid-bake.
Managing Fillings, Moisture, and Evaporation at Altitude
Liquids evaporate faster at high altitude because the boiling point drops with reduced atmospheric pressure. For cobbler fillings, this means fruit juices concentrate into thick, sticky syrup or evaporate completely, leaving fruit that tastes gummy or undercooked.
Extra liquid keeps the filling juicy and helps heat transfer evenly through the fruit. At 3,500 to 6,500 feet, add 1 to 2 tablespoons of extra liquid per cup of liquid in the recipe. At 6,500 to 8,500 feet, increase that to 2 to 4 tablespoons. Above 8,500 feet, add 3 to 4 tablespoons per cup. Liquid can be water, fruit juice, citrus juice, or a combination. The goal is to replace what evaporates during baking and create a filling that bubbles and thickens properly without drying out.
Extra liquid by elevation: Add the amounts shown in the chart per cup of liquid (juice, water, milk) used in the filling and topping.
Pre-cook fruit fillings: Simmer the fruit, sugar, and liquid in a saucepan for 8 to 15 minutes before adding the topping. This jump-starts thickening and makes sure the fruit is fully cooked by the time the topping is golden.
Cut fruit smaller and evenly: Smaller, uniform pieces cook faster and more evenly. Large chunks may stay raw in the center while the topping overbakes.
Adjust thickeners: If using cornstarch or tapioca, expect slightly faster thickening due to rapid evaporation. Don’t increase thickener unless the filling is still runny after pre-cooking and resting.
Control simmer duration: Watch for the filling to bubble steadily at the edges and center for 1 to 2 minutes before declaring it done. Bubbling confirms the fruit has reached full cooking temperature and the juices have thickened.
Oven Behavior and Heat Management for High-Altitude Cobblers
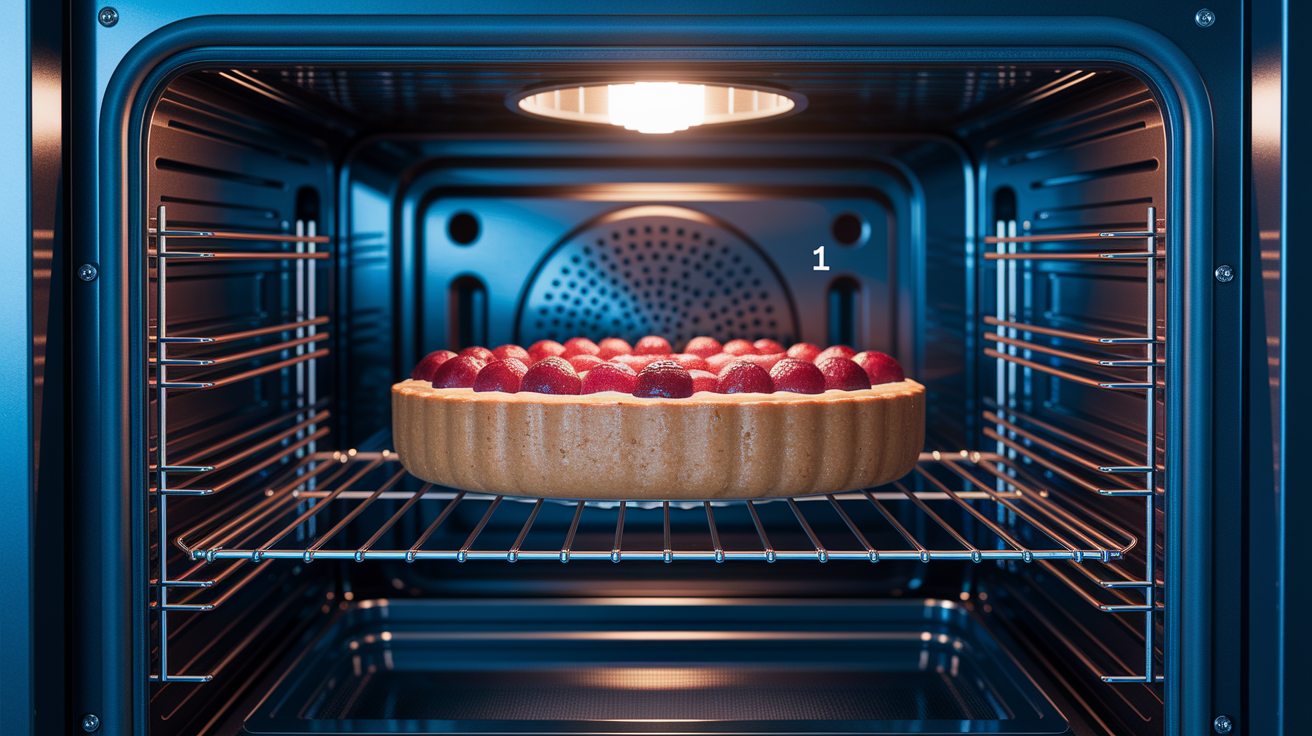
Higher oven temperatures counteract the slow structure-setting problem that occurs at altitude. At sea level, batter sets and firms up before leavening gases fully expand. At altitude? The opposite happens. Gases expand fast, and the structure sets late.
Raising the oven temperature by 15 to 25 degrees Fahrenheit helps the topping firm up faster, reducing the risk of collapse. Many bakers find success with a two-stage approach. Start at the higher temperature for the first 10 to 15 minutes to set the topping, then reduce the oven to the original recipe temperature to finish cooking the fruit without burning the top.
Bake times shorten at higher oven temperatures. Start checking your cobbler 5 to 15 minutes earlier than the original recipe states. Look for a golden topping, bubbling fruit at the edges and center, and a toothpick that comes out with moist crumbs instead of wet batter.
If the topping browns too quickly before the filling is done, tent the cobbler loosely with foil and continue baking. Lower rack positions expose the topping to less direct top heat, which can help when overbrowning is a persistent problem. Convection settings speed up browning and drying, so if you use convection, reduce the raised temperature by 10 degrees and watch closely.
| Adjustment | Purpose | When to Use |
|---|---|---|
| Raise oven temp +15–25°F | Set topping structure before over-expansion | All high-altitude cobbler baking above 3,500 ft |
| Two-stage baking (high then standard temp) | Fast initial set, slow finish for fruit | When topping browns too fast or fruit stays undercooked |
| Tent with foil late in bake | Prevent over-browning while filling finishes | When top is golden but filling has not bubbled at center |
Troubleshooting High-Altitude Cobbler Problems (Sunken, Dry, Undercooked Issues)

Fixing Sunken or Collapsed Toppings
A sunken center means the topping rose too fast and collapsed before the structure set. The most common causes? Too much leavening, too much sugar, too much incorporated air, or too little flour.
Reduce the baking powder or baking soda by 1/8 to 1/4 teaspoon per teaspoon called for in the recipe. Add 1 to 2 tablespoons of extra flour per cup to strengthen the batter. Cut sugar by 1 to 2 tablespoons per cup. Excess sugar weakens structure and increases the risk of collapse.
Increase the oven temperature by 15 to 25 degrees to help the topping set before it over-expands. Avoid over-whipping eggs or over-creaming butter and sugar. Mix just until combined and bake immediately so the leavening doesn’t lose strength before hitting the heat.
Fixing Dry, Crumbly, Over-Browned Toppings
Dry, crumbly toppings result from too little liquid, too much flour beyond the recommended increment, or overbaking. Increase the liquid in the topping by 2 to 4 tablespoons per cup to offset rapid evaporation.
Switch to extra-large eggs if the recipe calls for large eggs. The extra liquid and fat help keep the topping moist. Tent the cobbler with foil as soon as the topping reaches a light golden color, then continue baking until the filling bubbles. Lower the oven rack to reduce top heat exposure.
Don’t trust stated bake times. Test the topping with a toothpick and check the filling for steady bubbling at the center before removing the cobbler from the oven. If the topping is already too brown but the filling isn’t done, reduce the oven temperature by 25 degrees and cover tightly with foil to finish.
Fixing Undercooked Fruit or Runny Filling
Undercooked fruit happens when the topping insulates the filling and prevents heat from penetrating evenly. Pre-cook the fruit filling on the stovetop for 8 to 15 minutes before adding the topping. Simmer the fruit, sugar, and liquid until the juices start to thicken and bubble at the edges.
Let the mixture cool slightly, transfer it to the baking dish, then add the topping and bake. Cut fruit into smaller, uniform pieces so every piece cooks at the same rate.
Bake the cobbler covered with foil for the first 15 to 20 minutes to trap steam and heat the fruit faster, then uncover to brown the topping. Check for vigorous bubbling at the edges and center of the filling. Bubbling confirms the fruit has reached full cooking temperature and the juices have thickened.
If the topping is golden but the filling isn’t bubbling, lower the oven temperature, cover with foil, and bake until you see steady bubbles for at least 1 to 2 minutes.
Practical Workflow for Adapting Any Cobbler Recipe to Altitude
Systematic testing is the fastest way to turn a sea-level recipe into a reliable high-altitude winner. Changing every variable at once makes it impossible to know which adjustment fixed the problem or caused a new one.
Start with the sea-level recipe as written and bake it once if possible. Note exactly what went wrong (sunken center, dry topping, undercooked fruit, or overflow). Then adjust one variable at a time, record the exact change, and test again. This methodical approach builds a conversion formula you can apply to any cobbler recipe.
Baseline test: Bake the original recipe once, note the failure (sunken, dry, undercooked), and measure your elevation.
Adjust flour first: Add the recommended flour increment for your elevation (1 tablespoon at 3,500 feet, 2 tablespoons at 5,000 feet, etc.) and test.
Adjust liquids next: If the topping or filling is still dry or gummy, add the per-cup liquid increase for your elevation and test.
Adjust leavening third: If the topping still collapses, reduce baking powder by the chart amount (−1/8 to −1/4 teaspoon per teaspoon) and test.
Document everything: Write down elevation, exact tablespoon and teaspoon changes, oven temperature, bake time, rack position, and the result. Keep this log in your recipe binder or app.
When undercooked fruit is a persistent problem even after pre-cooking and smaller cuts, consider using a slightly deeper baking dish to increase the filling volume and baking time, or partially bake the filling alone for 8 to 15 minutes before adding the topping. If overflow is common, scale up to a larger or deeper pan and reduce sugar in the filling by 1 to 2 tablespoons to lower the boil intensity. Always start checking doneness 5 to 15 minutes earlier than the sea-level recipe states, especially after raising the oven temperature.
Final Words
Cut leavening, add a bit more flour and liquid, and raise the oven temp so structure sets before the juices vanish. These moves counter the faster rise and quicker evaporation that altitude brings.
Use the elevation rules: small leavening cuts, 1 tbsp flour per cup increments, 1 to 4 tbsp liquid by range, and bake until the center bubbles and the topping is golden. Pre-cook fillings or use a deeper pan when fruit stays undercooked.
Use these high altitude cobbler adjustments for baking success as a checklist. You’ll serve a jammy, bubbling filling and a crisp, buttery top every time.
FAQ
Q: What is a recommended baking adjustment at high altitude?
A: The recommended baking adjustment at high altitude is to reduce leavening, cut sugar slightly, add 1 tablespoon flour per cup, increase liquid 1 to 2 tablespoons, and raise oven temperature 15-25°F.
Q: How to adjust baking muffins at high altitude?
A: To adjust baking muffins at high altitude, reduce leavening about 1/8 to 1/4 teaspoon per teaspoon called for, add 1 tablespoon flour per cup, increase liquid 1 to 2 tablespoons, and bake slightly hotter.
Q: How much flour do you add for recipes baked at high altitude?
A: You add about 1 tablespoon flour per cup at 3,500 feet, then add roughly 1 more tablespoon for each additional 1,500 feet, up to about 2 tablespoons flour per cup.
Q: How to alter a baking recipe for high altitude?
A: To alter a baking recipe for high altitude, change one thing at a time: reduce leavening by 1/8 to 1/4 teaspoon, cut sugar 1 to 2 tablespoons per cup, add 1 to 4 tablespoons liquid, and raise oven 15-25°F.
