

Think a gluten-free cobbler mix can’t beat a homemade scratch version?
Think again, a good mix, a hot oven, and the right pan give consistent, golden-edged cobblers that bubble and smell buttery.
This post walks you through simple, step-by-step mix instructions, from preheating and melting the butter to pouring thin batter and spotting the bubbling center, so you get perfect texture and no soggy bottoms.
Follow these tips and you’ll serve a warm, crowd-pleasing cobbler every time.
Step-by-Step Cobbler Preparation Guide
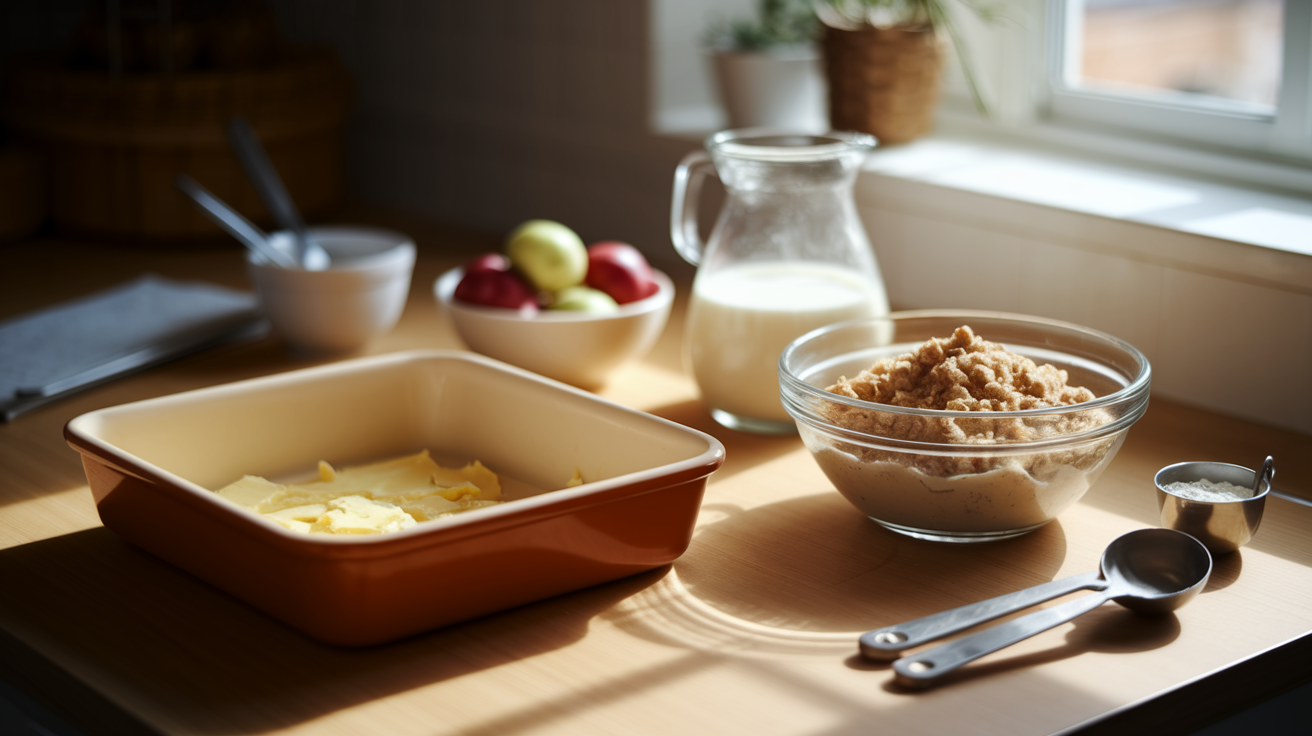
Gluten-free cobbler mix instructions always start with preheating your oven to 350°F, though some brands go with 375°F. Middle rack works best. Even baking, no surprises. While the oven heats, grab your dish and get your fruit ready. An 8×8 or 9×9 pan handles a single mix packet just fine. Temperature control and simple layering matter more than anything else.
Most gluten-free mixes follow the same basic path: melt butter in the pan, pour your batter over it, then add fruit on top. Some brands flip this around and start with fruit. The batter’s going to look thin when you pour it. That’s normal for gluten-free recipes. It rises and firms up as it bakes. Don’t stir the fruit and batter together once they’re in the pan. You want that crisp topping and distinct fruit layer.
Texture’s a bit different from wheat-based cobblers. The topping feels tender and slightly denser. The crust forms as the butter melts and the flour blend sets. Look for golden edges and a topping that springs back when you press it lightly. Fruit should bubble around the sides. That’s your signal.
How to make gluten-free cobbler:
- Preheat your oven to 350°F or 375°F, depending on what your mix says.
- Drop ½ to 1 cup butter in your baking dish and slide it into the oven until it’s melted, about 3 to 5 minutes.
- While the butter melts, mix the cobbler blend with ⅔ to 1 cup milk (or dairy-free substitute) in a medium bowl. Stir just until combined.
- Pull the pan with melted butter from the oven and pour the batter right over it. Don’t stir.
- Spread 2 to 4 cups of fresh or frozen fruit evenly over the batter. Frozen works straight from the freezer.
- If you want, sprinkle the fruit with 2 to 4 tablespoons sugar or a little cinnamon for extra sweetness.
- Bake for 35 to 50 minutes, until the topping’s golden and the fruit bubbles in the center, not just around the edges.
- Let it rest for 10 minutes before serving so the filling can thicken a bit.
Ingredient Details and Required Measurements

Gluten-free cobbler mixes usually contain rice flour, tapioca starch, potato starch, sugar, baking powder, and salt. Some brands toss in xanthan gum or another binder to help the batter hold together and rise. These ingredients replace the gluten structure you’d get from wheat flour, so the texture ends up lighter and more tender. The mix is shelf-stable and only needs a few fresh add-ins to work.
Most mixes ask for three things: butter, milk, and fruit. Some want an egg, though plenty skip it. Butter creates richness and helps the topping brown. The liquid hydrates the starches and activates the leavening. Fruit gives you that juicy filling.
Additional ingredients you’ll need:
- ½ to 1 cup melted butter or coconut oil for a dairy-free swap
- ⅔ to 1 cup milk, or something like almond, oat, or coconut milk
- 2 to 4 cups fresh or frozen fruit (berries, peaches, apples, cherries, or mixed)
- Optional: ¼ cup granulated sugar or coconut sugar to sweeten the fruit
- Optional: 1 teaspoon cinnamon, nutmeg, or cardamom
- Optional: 1 tablespoon lemon juice for berry cobblers
Gluten-free baking depends on exact ratios because the starches and binders don’t behave like wheat flour. Too much liquid makes the topping gummy. Too little leaves it dry and crumbly. Measure liquids carefully with a clear cup at eye level. If your mix doesn’t specify amounts, start low and add more only if the batter looks too thick to pour.
Recommended Pan Sizes and Baking Temperatures
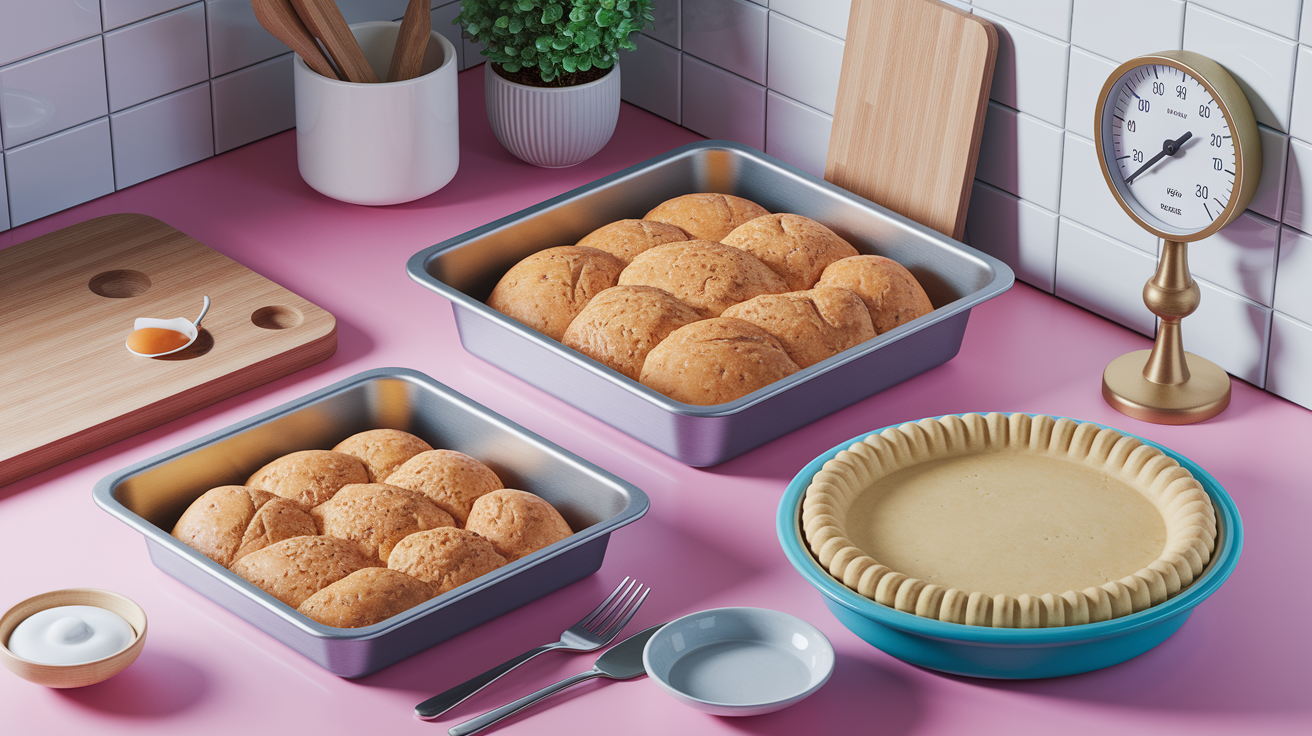
An 8×8 square pan or 9×9 baking dish works for most single-batch mixes. A 9-inch pie plate’s another solid choice if you want a round presentation. Glass, ceramic, and metal pans all do the job, though glass and ceramic take a few extra minutes to heat through. Metal pans conduct heat faster and often give you crispier edges.
Most recipes call for somewhere between 350°F and 375°F. The lower end works well for juicy fruit like berries because the slower bake lets the topping set before the fruit overflows. The higher temperature’s better for firmer fruit like apples or pears, which need extra heat to soften. If your mix doesn’t specify, start at 350°F and check around the 40-minute mark for bubbling fruit and golden topping.
Pan depth affects bake time more than you’d think. A shallow pan spreads the batter thin, so the cobbler bakes faster and crisps up more. A deeper dish creates a thicker layer that needs longer in the oven. If you’re using a 9×13 for a crowd, plan to add 10 to 15 minutes and watch for the center to bubble before you pull it out.
Mixing Technique and Texture Expectations
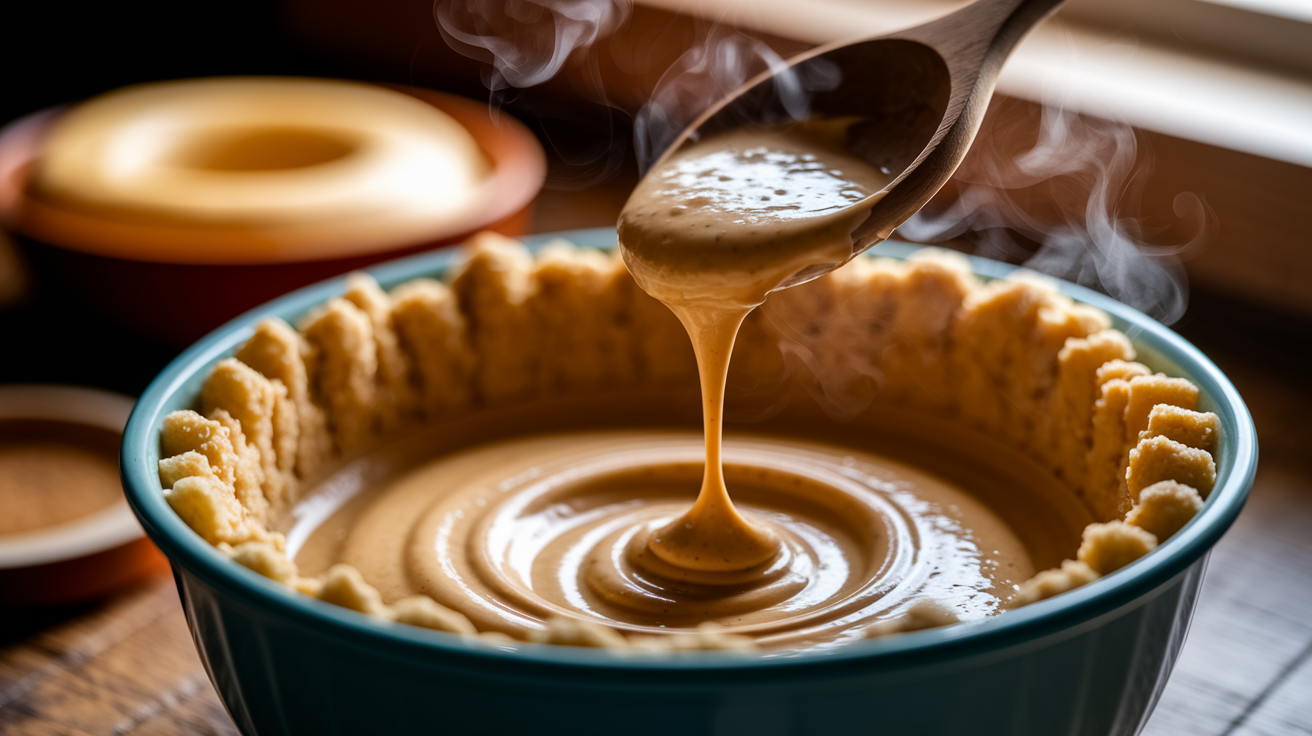
Combine your mix with milk in a medium bowl and stir gently with a fork or whisk until the dry ingredients are just moistened. You’ll see a few small lumps. That’s fine. Gluten-free batters don’t need vigorous mixing because there’s no gluten network to develop. Overmixing activates the baking powder too early, which means less rise once the cobbler hits the oven. Stop stirring as soon as the batter looks evenly combined and slightly thin.
Gluten-free cobbler batter looks thinner and more pourable than a traditional wheat-based topping. This is how it’s supposed to be. The starches thicken as they bake, and the leavening creates lift. If your batter looks like thick pancake batter, you’re good. If it’s too thick to pour, add milk one tablespoon at a time until it loosens. If it looks watery, whisk in a tablespoon of extra gluten-free flour from your pantry.
The finished topping should feel tender and slightly cake-like, not dense or gummy. It springs back when you press it lightly. The bottom layer, where the batter met the melted butter and fruit, will be softer and more custardy. That contrast is part of what makes cobbler work. If the topping feels wet or sticky after the recommended bake time, give it another 5 to 10 minutes.
Troubleshooting Common Cobbler Issues

Gluten-free baking troubleshooting for cobbler problems:
- Gummy or wet center: Didn’t bake long enough, or you added too much liquid. Bake for 5 to 10 more minutes and check that the topping bounces back.
- Topping too dark before fruit bubbles: Lower your oven temperature by 25°F and tent the pan loosely with foil for the last 10 minutes.
- Fruit sinks to the bottom: Batter was too thin or the fruit was too heavy. Next time, use slightly less liquid or toss the fruit with 1 tablespoon cornstarch before layering.
- Dry, crumbly topping: Not enough liquid in the batter, or it baked too long. Add an extra 2 tablespoons milk next time and check for doneness a few minutes early.
- Pale topping with no golden color: Oven temperature’s probably too low, or the cobbler needs more time. Raise the heat to 375°F for the last 10 minutes or brush the topping with melted butter before baking.
- Fruit’s not bubbling: Oven wasn’t hot enough, or the fruit was still frozen in the center. Add 10 to 15 minutes if you’re using frozen fruit straight from the freezer.
Gluten-free recipes can be unpredictable because different flour blends absorb moisture at different rates. Rice flour drinks up liquid slowly, while tapioca starch sets quickly once heated. If your cobbler turns out gummy, the starches didn’t fully cook through. This happens when the oven temperature’s too low or the pan’s too deep. Try a shallower dish next time or bump up the temperature for the final 10 minutes to set the topping completely.
Overbrowning happens when the sugar in the topping caramelizes before the center finishes baking. Gluten-free batters can brown faster than wheat batters because they contain more starch, which caramelizes at lower temperatures. If the edges are getting too dark, cover the pan loosely with foil and keep baking until the fruit bubbles in the middle. This keeps the topping from burning while the inside catches up.
Flavor Enhancements and Fruit Variations

Fresh or frozen peaches, blueberries, blackberries, raspberries, strawberries, cherries, apples, and pears all work in gluten-free cobbler. Stone fruits like peaches and apricots create a juicy, slightly tart filling that balances the sweet topping. Berries add bright color and acidity. Apples and pears hold their shape well and work best when sliced thin or tossed with a little extra sugar to help them soften. Mix two or three fruits together for more complex flavor. Peach and raspberry’s a classic. So is apple and blackberry.
Optional flavor enhancements:
- 1 teaspoon ground cinnamon for warmth with stone fruit or apples
- ½ teaspoon ground nutmeg or cardamom for a cozy, spiced note
- 1 tablespoon lemon or lime zest mixed into the fruit for brightness
- 1 teaspoon vanilla extract stirred into the batter for depth
- 2 tablespoons chopped nuts (pecans or almonds) sprinkled over the topping before baking for crunch
Fruit moisture levels vary depending on type and ripeness. Berries release more juice than apples, so if you’re using mostly berries, toss them with 1 tablespoon cornstarch or tapioca starch before layering them in the pan. This thickens the filling as it bakes and keeps the bottom from turning soupy. If you’re using firmer fruit like apples, skip the cornstarch or cut it back to 1 teaspoon. Frozen fruit works just as well as fresh, but expect to add 5 to 10 extra minutes of baking time because the fruit starts cold and releases more liquid as it thaws in the oven.
Brand-Specific Mix Variations

Different gluten-free cobbler mix brands use slightly different flour blends and leavening ratios, so you might notice small changes in the instructions from one box to the next. Some brands include xanthan gum or psyllium husk powder in the mix, which helps the batter hold together and rise. Others leave binders out and rely on the starch blend alone. Mixes with binders tend to produce a slightly denser, more structured topping. Mixes without binders create a lighter, more tender crumb.
Butter and liquid amounts also vary by brand. One mix might call for ½ cup melted butter and ⅔ cup milk, while another asks for 1 cup butter and 1 cup milk. Always read the back of the package before you start. If your mix doesn’t specify exact measurements, follow the general rule: use equal parts liquid and fat (by volume), and adjust from there based on how thick the batter looks.
Adjustments to expect when switching brands:
- Some mixes recommend preheating the oven to 375°F instead of 350°F, which shortens baking time by about 5 minutes.
- A few brands suggest pouring fruit into the pan first, then spooning the batter over the top, rather than layering batter over melted butter.
- Certain mixes include sugar in the dry ingredients, so you might not need to sweeten the fruit separately.
Final Words
Preheat the oven, melt the butter, and layer the fruit and batter. That’s the heart of the method we walked through. This post gave clear temperatures, ingredient details, pan-size advice, and step-by-step mixing cues so you can bake without guesswork.
We also shared troubleshooting tips, fruit and spice ideas, and how different mixes may change liquid or baking time.
If you follow the gluten free cobbler mix instructions here, you’ll end up with a jammy filling and a buttery, golden top. Happy baking. Serve it warm with a scoop of ice cream.
FAQ
Q: How do I prepare a gluten-free cobbler mix?
A: Preparing a gluten-free cobbler mix starts with preheating your oven to 350–375°F, melting butter in the dish, mixing the mix with milk, layering fruit and batter, and baking until filling bubbles.
Q: What oven temperature and baking time should I use?
A: The oven temperature for gluten-free cobbler should be 350–375°F, and bake 30–50 minutes depending on pan and fruit, until the filling is bubbling and the topping is golden with a few deeper brown spots.
Q: How should I prepare the pan and use butter?
A: Preparing the pan means melting 3–4 tablespoons of butter in the dish, spreading it evenly so batter doesn’t stick, and using an 8×8 or 9×9 pan for standard mixes.
Q: What liquid amounts and mixing technique should I use?
A: Use the mix’s suggested liquid—often 3/4 to 1 cup milk or dairy-free milk—and stir until just combined; batter will be thinner than wheat versions, so avoid overmixing to keep rise.
Q: How much fruit should I use and which fruits work best?
A: For fruit, use 2–4 cups depending on pan size; peaches, berries, apples, and cherries work best—frozen is fine and adds juicy, jammy filling without thawing.
Q: What ingredients are typically in gluten-free cobbler mixes and why?
A: Gluten-free cobbler mixes usually include rice flour, tapioca and potato starches, sugar, leavening, and sometimes xanthan gum to add structure and chew that wheat would normally provide.
Q: How do I fix common problems like gummy centers, excessive browning, or fruit sinking?
A: Fix gummy centers by baking longer and letting the cobbler rest; prevent excessive browning with tented foil; keep fruit from sinking by tossing it in a little flour or using thicker pieces.
Q: How should I adjust baking for pan size and material?
A: Adjust for pan size and material by using 8×8 or 9×9 for standard mixes; glass pans may need 5–10 extra minutes and deeper pans will lengthen overall bake time.
Q: How do brand differences affect gluten-free cobbler mix instructions?
A: Brand differences can change liquid amounts, xanthan gum inclusion, butter needs, and recommended temperatures, so read each mix’s label and tweak liquids or bake time accordingly.
Q: What simple flavor enhancements should I try?
A: Simple enhancements include a pinch of cinnamon, a splash of vanilla, citrus zest, or a spoon of brown sugar—these lift fruit flavor without changing texture much.
