

Tired of a soggy cobbler bottom even when you follow the box mix instructions?
You’re probably not the problem.
The mix and fruit just need a few simple fixes, like drain or macerate, which means let fruit sit with sugar and pour off the juice, use less liquid than the package calls for, preheat a metal or cast-iron pan, and bake until the filling bubbles in the center so the bottom sets.
I’ll give quick, tested swaps and clear visual cues on how much juice to drain, when to add cornstarch, and which pan and oven tricks make the base golden and crisp, ready for a steamy scoop.
Quick, Actionable Fixes to Avoid a Soggy Cobbler Bottom
A soggy bottom happens when too much fruit juice pools underneath before your topping sets. But here’s the good part: a few simple tweaks can stop the problem before you even turn on your oven.
Most of the time, it’s about moisture and temperature. Drain your fruit, cut back on liquid, and reposition your pan. That’s it.
-
Drain your fruit. Pour off any liquid sitting in the bowl or can. If your fruit’s really juicy, toss it with sugar and let it sit for 15 minutes, then drain off 1/4 to 1/2 cup of the juice that comes out.
-
Use less liquid than the box tells you. Most cobbler mixes call for way more than you need. You’re looking for thick batter that drops from a spoon, not something you can pour.
-
Move your oven rack to the middle or lower third. Closer to the bottom heat source means the fruit and base cook faster.
-
Keep baking until the filling bubbles in the center, not just at the edges. Usually means 8 to 12 extra minutes past what the package says.
-
Toss fruit with 2 tablespoons of cornstarch per 4 cups. Quick coating thickens the filling as it heats and keeps juices from pooling.
Fruit Prep Techniques That Prevent a Soggy Cobbler Bottom
Fresh and frozen fruit release way more liquid than you’d think once they hit oven heat. Sugar pulls out even more juice through osmosis, and when the fruit softens, the cell walls break down and let go of moisture. All that liquid has to go somewhere. When it pools under the topping before things have time to set, you get a wet, gummy bottom.
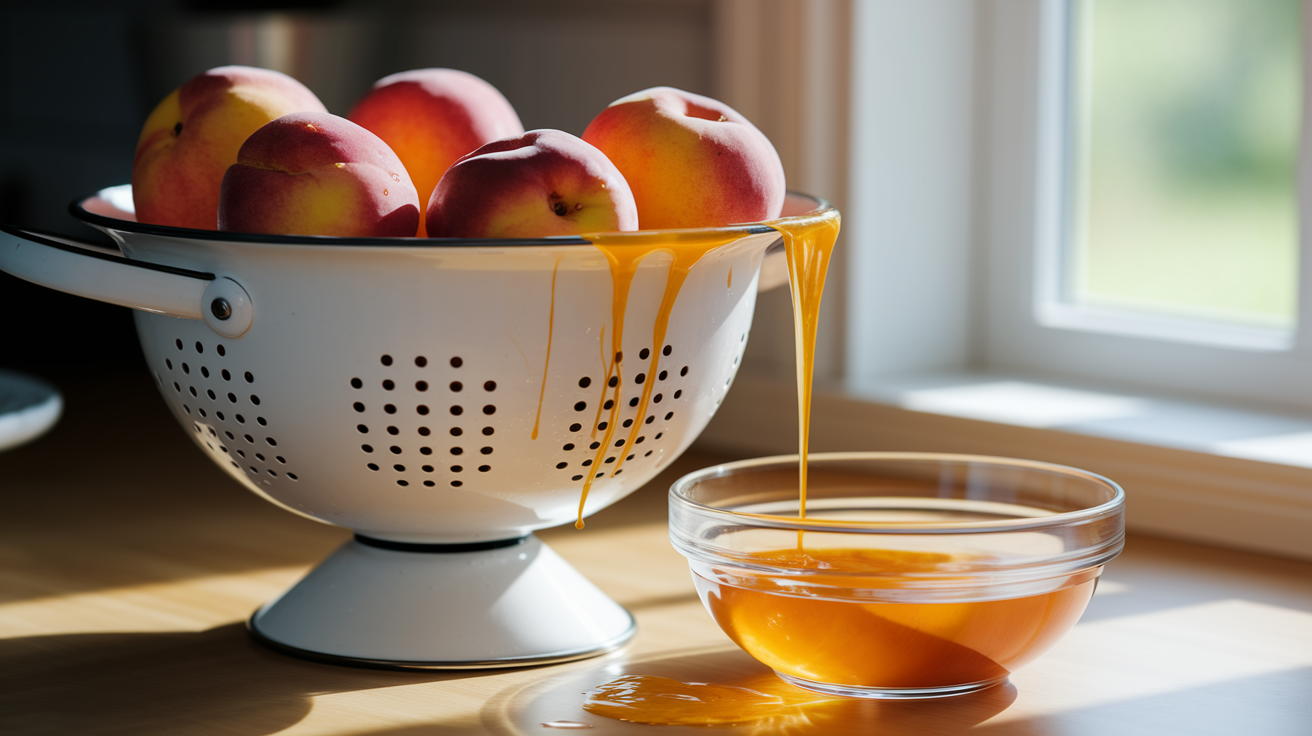
Stone fruits like peaches, nectarines, and plums produce the most juice, especially ripe ones. Berries shed a lot too. Frozen fruit carries extra moisture from ice crystals. Canned fruit sits in syrup, so even after draining, it’s wetter than fresh.
-
Macerate fruit with sugar, then drain. Toss 4 cups of fruit with 1/4 cup sugar and let it sit 15 to 20 minutes. The sugar pulls out juice. Pour off 1/4 to 1/2 cup of that liquid before adding fruit to your dish.
-
Drain canned or thawed frozen fruit. Pour into a colander and let it sit for 5 minutes. Press gently with the back of a spoon to release trapped liquid. Pat dry with a paper towel if it’s still very wet.
-
Simmer fruit on the stovetop for 5 to 10 minutes. Heat fruit in a skillet over medium-high with 1 tablespoon butter and any sugar from your recipe. Let it bubble until the liquid reduces and the fruit starts to look glossy and thick, not soupy.
-
Thaw frozen fruit completely and drain well. Spread it on a paper towel lined baking sheet, let it thaw at room temp for 30 minutes, then drain off the pooled liquid.
-
Cut back on added sugar if your fruit’s very sweet or canned. Extra sugar pulls more juice out. Cut the sugar by 2 tablespoons if you’re working with canned peaches or syrupy berries.
-
Prepare stone fruits by halving and removing pits so juices can drain during prep. Lay cut side down on a paper towel for a few minutes before slicing to let surface moisture wick away.
Thickening the Filling to Avoid a Runny Base
Thickeners absorb liquid and form a gel when heated. Starch granules swell as they heat up, trapping water molecules and turning thin fruit juice into a thicker, spoonable filling. Without enough thickener, juice stays loose and sinks to the bottom.
Different fruits release different amounts of liquid. A fixed tablespoon amount doesn’t work for every cobbler. Juicy peaches need more starch than apples. Frozen berries need more than fresh.
| Fruit Type | Recommended Thickener Amount (per 4 cups fruit) |
|---|---|
| Fresh apples, pears (low moisture) | 1 to 1½ tablespoons cornstarch or 2 tablespoons tapioca |
| Fresh peaches, plums, nectarines (medium moisture) | 2 tablespoons cornstarch or 3 tablespoons tapioca |
| Fresh or frozen berries (high moisture) | 2 to 3 tablespoons cornstarch or 1/4 cup all-purpose flour |
| Canned or thawed frozen stone fruit (very high moisture) | 3 tablespoons cornstarch or 1/4 cup flour plus 1 tablespoon tapioca |
Adjusting Cobbler Mix Consistency for a Crisp, Non-Soggy Bottom
When your batter’s too wet, it can’t set fast enough to form a sturdy layer on top of the fruit. Excess liquid in the topping seeps down into the filling before the oven heat can bake it firm. You end up with a gummy, pale bottom that never crisps. Most boxed mixes ask for more liquid than you actually need, especially if you’re baking in a shallow pan or using really juicy fruit underneath.
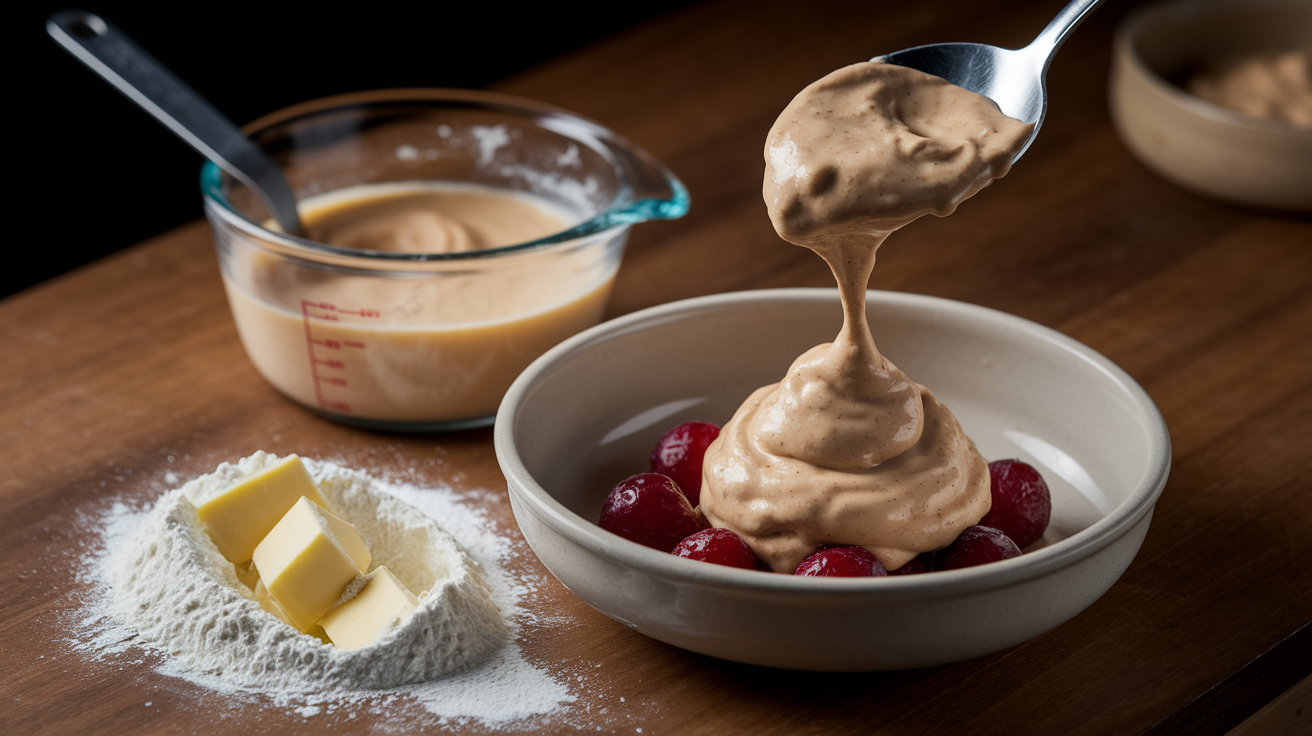
The right batter consistency looks like thick pancake batter or drop biscuit dough. It should drop from a spoon in soft clumps, not pour in a thin stream. If you can drizzle it, it’s too runny. When you spoon it over the fruit, it should sit on top in mounds and hold its shape for a few seconds before slowly spreading.
Different liquids also affect how the batter sets. Whole milk produces a sturdier topping than water because the fat and protein help the structure hold. Melted butter mixed into the batter makes a richer, firmer crust than oil. If your mix calls for water, try substituting half milk and cutting back the total liquid by 2 to 3 tablespoons. The topping will brown better and stay crisper on the bottom.
Bakeware Choices That Prevent a Soggy Bottom in Cobbler Mix
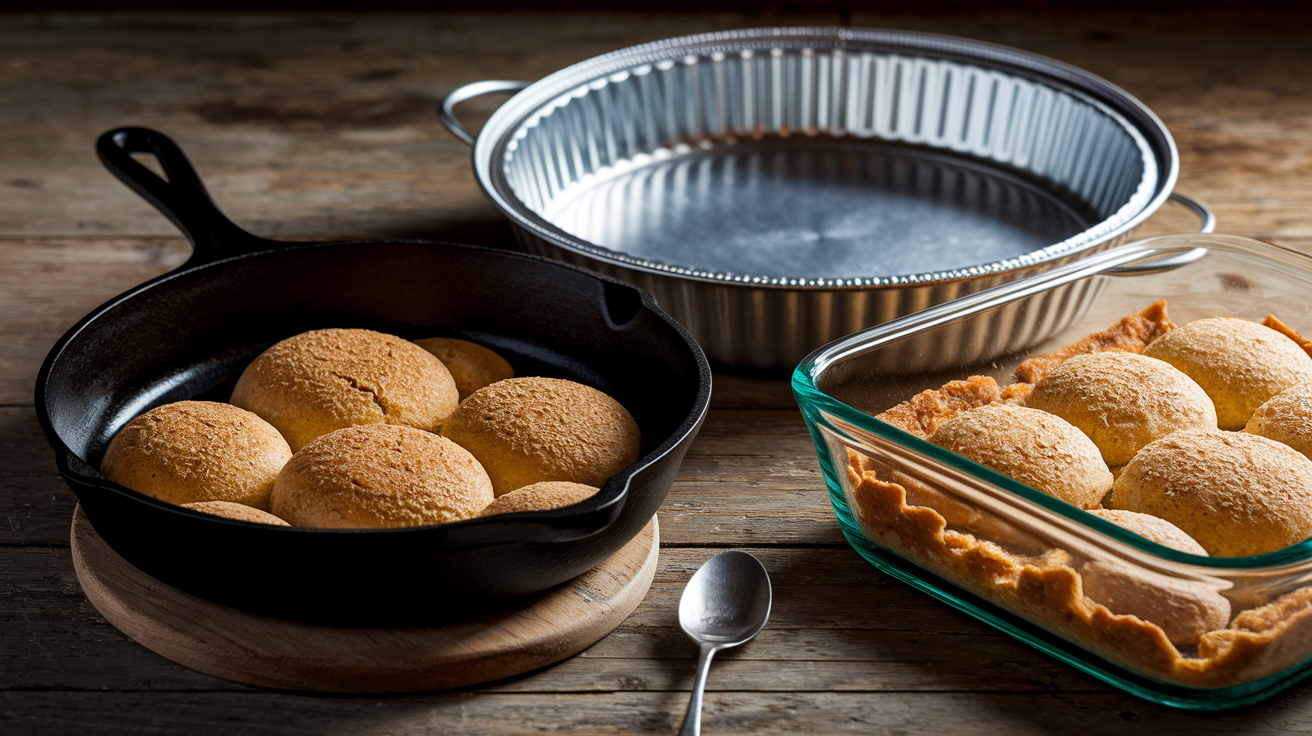
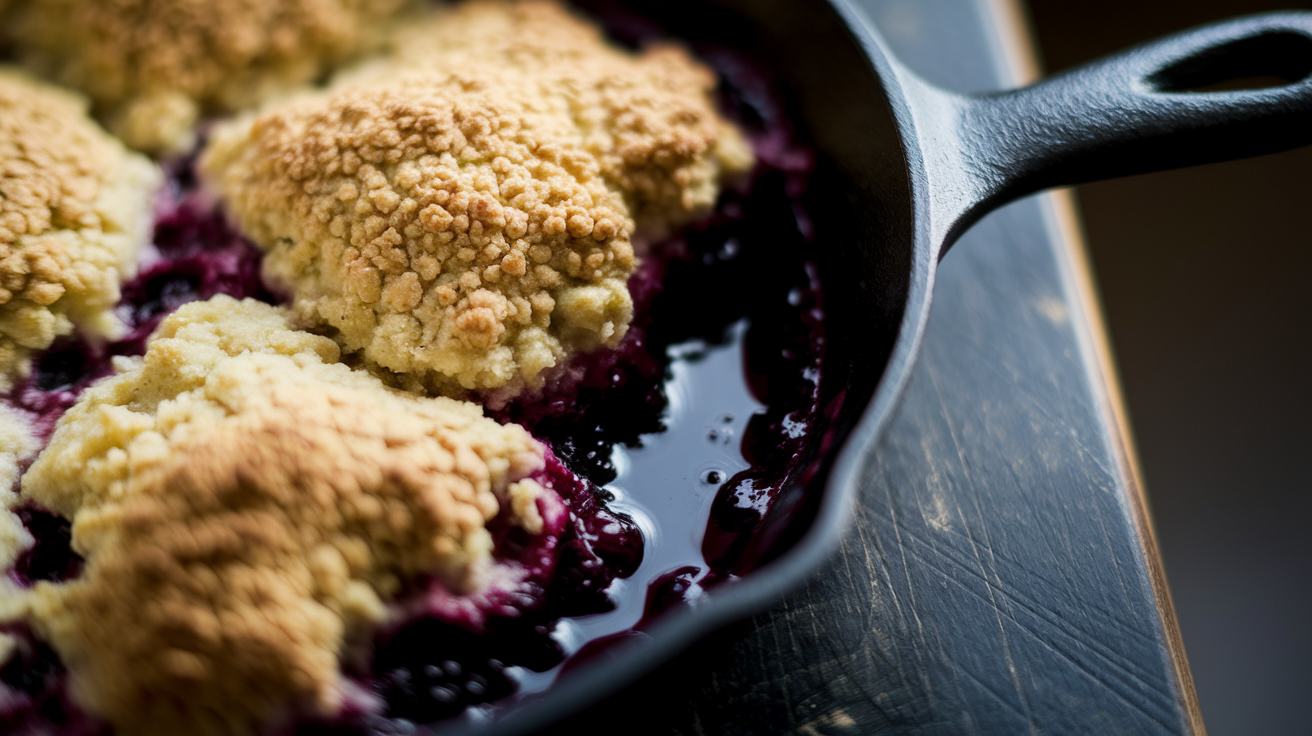
Metal pans conduct heat faster and more evenly than glass or ceramic, so the bottom of your cobbler gets hotter, quicker, and crisps up before the fruit has time to soak through. Light colored aluminum or stainless steel baking pans are your best all around choice. Cast iron’s even better because it holds steady, high heat once it’s preheated, giving you a deep golden bottom every time.
Shallow pans let moisture evaporate faster than deep dishes. A 9 inch skillet or a 9×13 inch pan that’s only 2 inches deep will produce a crisper bottom than a deep 2 quart casserole dish. The wider surface area gives steam a shorter path to escape, and the thinner layer of fruit cooks through faster, so juices thicken before they pool.
-
Preheat a cast iron skillet for 8 to 10 minutes in the oven, then add 1 to 2 tablespoons of butter and let it sizzle before spooning in fruit and topping. This jump start on bottom heat creates an instant sear that helps set the base.
-
If using a glass dish, add 10 to 15 minutes to the total bake time and place the dish on a preheated baking sheet. Glass heats more slowly than metal, so the extra time and the hot sheet underneath help compensate.
-
Choose a shallow 9×13 inch metal pan over a deep 8×8 or 2 quart round dish. The thinner fruit layer cooks faster and releases steam more easily.
-
Set your cobbler dish on a preheated baking stone or heavy duty baking sheet if you don’t have cast iron. Heat the stone or sheet in the oven for 10 to 15 minutes before placing your cobbler on it.
-
Avoid really deep dishes that trap steam and prevent the bottom from getting hot enough. If your dish is more than 3 inches deep, reduce the amount of fruit or switch to a shallower pan.
Oven Positioning and Temperature Strategy for a Non-Soggy Cobbler
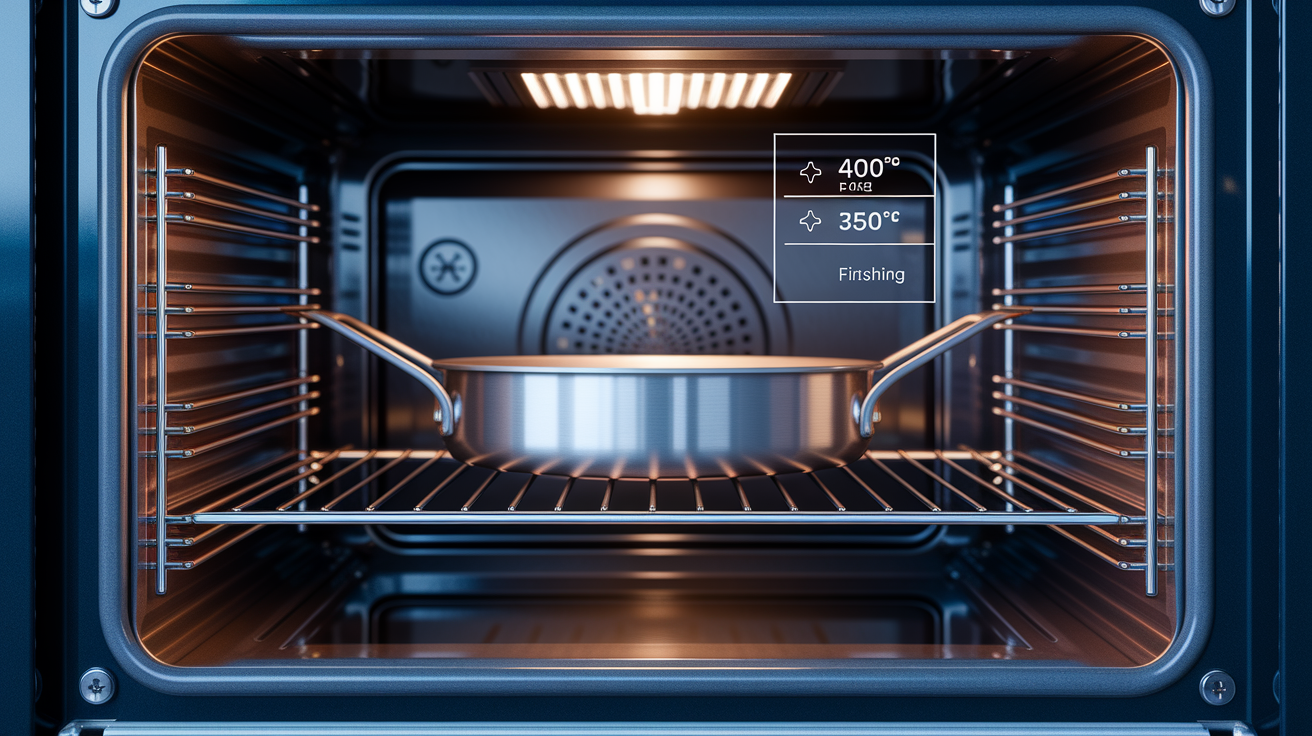
Oven racks control where the most intense heat hits your cobbler. The lower third is closest to the heating element at the bottom, so placing your pan there directs more heat to the base, helping it cook and crisp before the topping over browns. The middle rack offers balanced heat, which works well if you’re using a preheated pan or baking sheet. Avoid the top rack. It browns the topping fast while leaving the bottom pale and doughy.
Most cobbler mixes bake best at 350 to 375°F for 35 to 50 minutes. But you can use a staged temperature approach to get better results. Start at 400°F for the first 8 to 12 minutes to jump start bottom heat and help the fruit juices begin bubbling, then reduce the oven to 350 or 375°F and continue baking for another 25 to 35 minutes. This sets the base faster without scorching the top. Always preheat your oven fully for 15 to 20 minutes before baking. An oven that’s still warming up won’t give you the immediate bottom heat you need.
Convection settings can help because the fan circulates hot air around the pan, promoting more even browning and faster moisture evaporation. If you’re using convection, reduce the temperature by 25°F (bake at 325 or 350°F instead of 350 or 375°F) and check for doneness a few minutes earlier than the recipe suggests. The moving air dries out the top and edges faster, which can be helpful for crisping, but watch closely so the topping doesn’t brown too quickly before the filling finishes cooking.
Prebaking and Hot Pan Methods to Prevent Soggy Cobbler Mix Bottoms
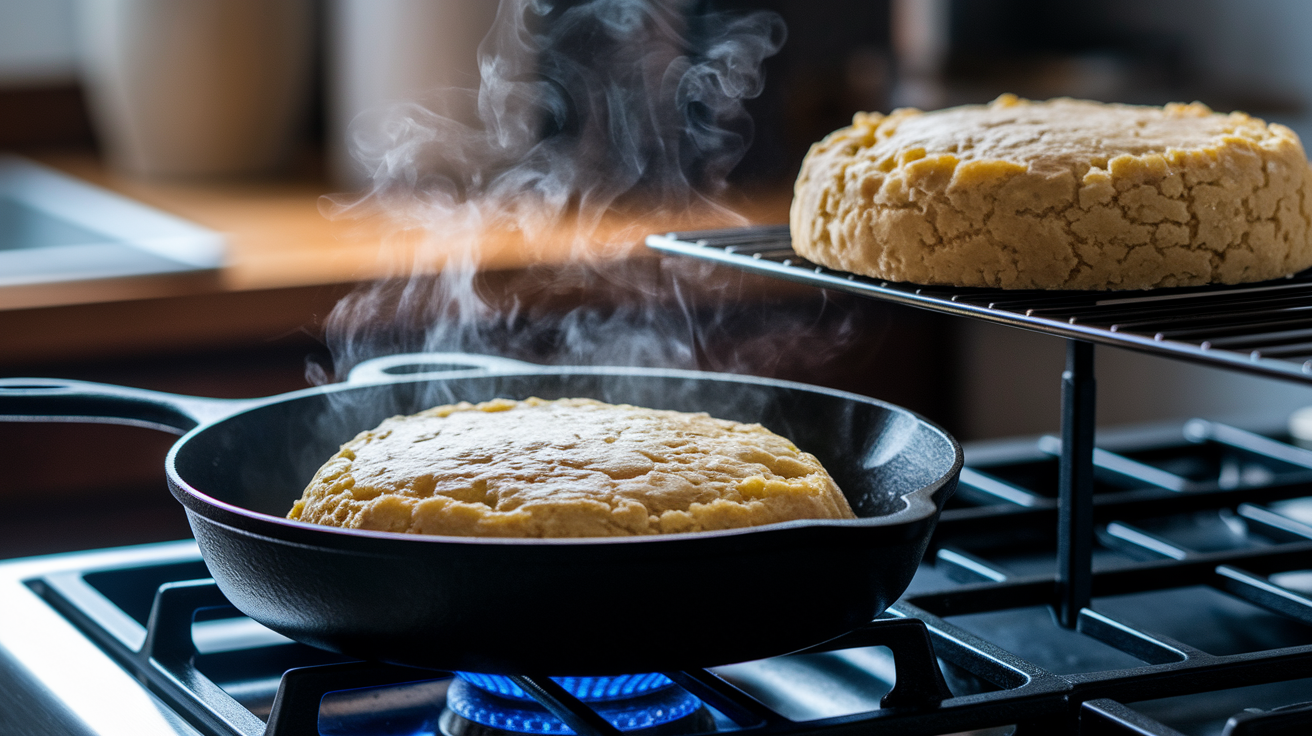
Starting with a hot pan gives the bottom of your cobbler a head start on cooking, so the base sets before fruit juices have time to seep through. When you place cold batter and room temperature fruit into a cold pan, everything heats up slowly and the liquid has time to spread and soak in. A preheated pan creates immediate contact heat that firms up the bottom layer fast.
Par baking the topping separately lets you control when each component cooks. If you bake the cobbler topping on its own for 8 to 12 minutes at 375°F until it’s just starting to set, then add the hot fruit underneath or on top, the topping’s already firm enough to resist soaking up moisture.
-
Preheat your cast iron skillet or metal baking pan in the oven for 8 to 10 minutes at your baking temperature (usually 375°F).
-
Carefully remove the hot pan and add 1 to 2 tablespoons of butter, swirling to coat the bottom. The butter should sizzle and foam immediately.
-
Spoon your prepared, thickened fruit filling into the hot, buttered pan, spreading it into an even layer.
-
Immediately top with your cobbler mix batter, then return the pan to the oven and bake for the remaining time (usually 30 to 40 minutes) until the topping is deep golden and the filling is bubbling at the edges and center.
Testing for Doneness to Ensure the Cobbler Bottom Has Fully Set
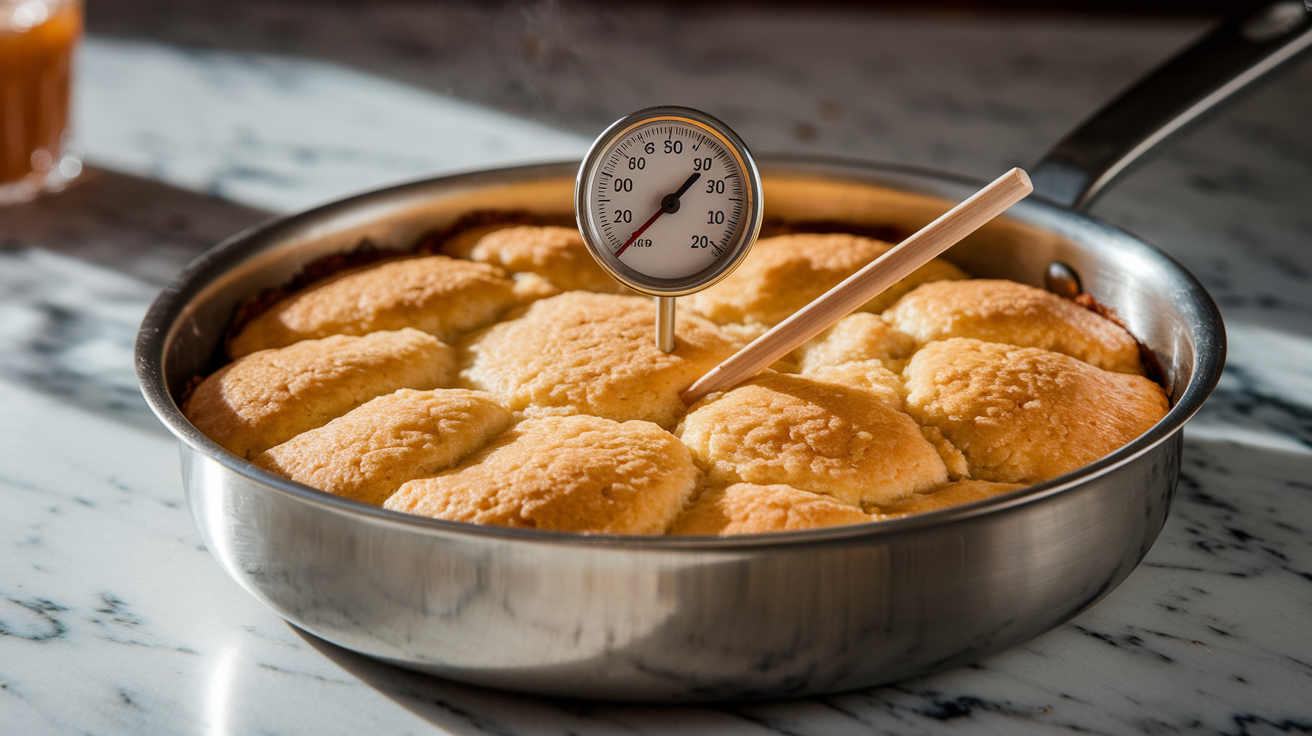
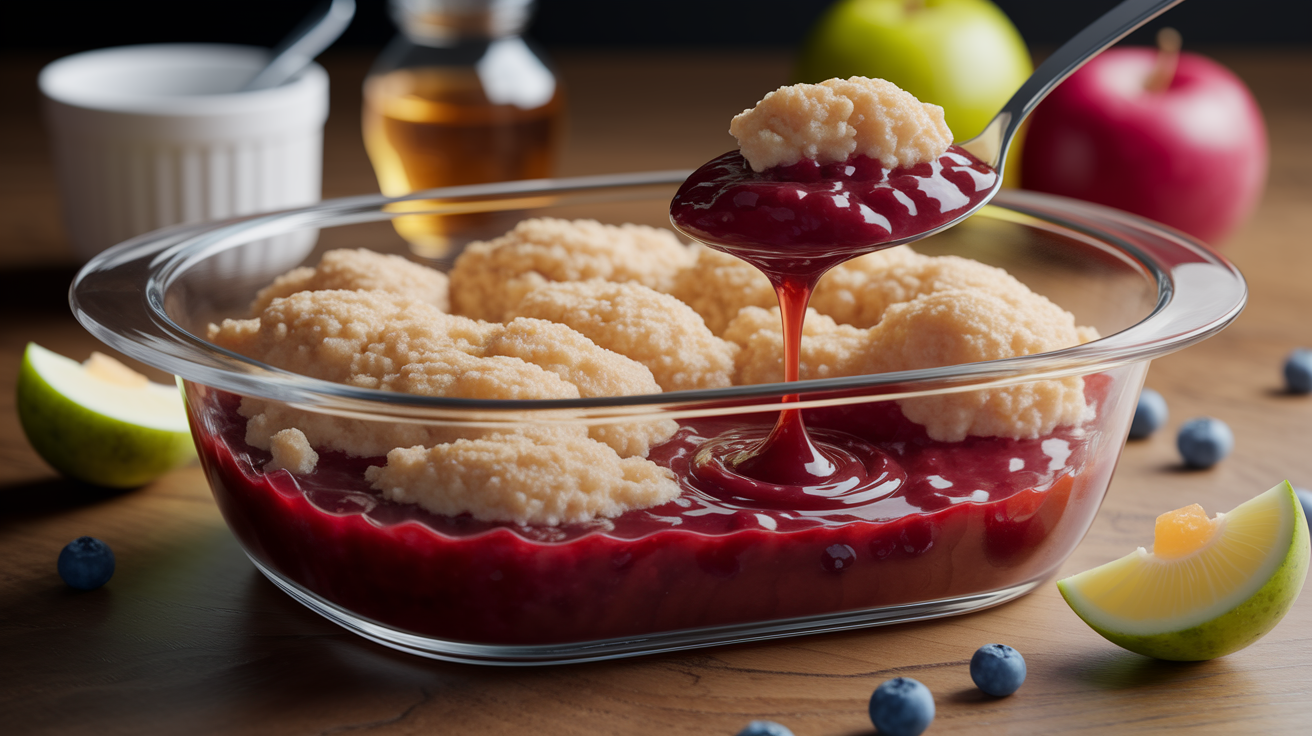
The most reliable visual cue is visible bubbling at the edges and in the center of the fruit filling. Juices need to reach a full boil for at least 2 to 3 minutes to activate the starch and thicken properly. If the filling’s only bubbling around the outside, the center’s still too cool and the bottom’s probably underbaked. Wait until you see slow, thick bubbles breaking through the middle before you pull the cobbler out.
The topping should be deep golden brown with a few darker spots, not pale or blonde. Edges should look slightly pulled away from the sides of the pan, and the surface should feel firm when you press it gently with your finger. An instant read thermometer inserted into the fruit filling should read around 200°F, which means the fruit’s fully cooked and the starches have gelled. A toothpick inserted into the topping should come out clean or with just a few moist crumbs, not wet batter.
When you scoop out a portion, the bottom should lift cleanly without leaving a pool of thin liquid behind. If juice runs out and floods the plate, the filling needed more time to thicken. The bottom crust or biscuit layer should look lightly browned on the underside when you lift a piece with a spatula, not pale or gummy.
Quick Mid-Bake and Post-Bake Fixes for a Soggy Cobbler Mix Bottom

If you check your cobbler halfway through and the top’s browning too fast but the bottom still feels soft, move the pan to the lower oven rack and tent the top loosely with foil to slow down browning while the base catches up. If the bottom feels underdone but the top’s already golden, raise the oven temperature by 25°F and bake for an additional 10 to 15 minutes. Remove any foil so the top doesn’t trap steam.
Once the cobbler’s out of the oven and you discover the bottom’s soggy, you can still rescue it. The fastest fix is to scoop the fruit and topping out of the pan, pour the excess liquid into a small saucepan, and simmer it on the stovetop for 3 to 6 minutes until it reduces and thickens. Spoon the fruit back into the dish, return it to a preheated baking sheet in a 375°F oven, and bake for another 8 to 12 minutes to crisp the bottom.
-
Re-toast individual slices on a baking sheet at 375 to 400°F for 8 to 10 minutes. This crisps the bottom without over baking the top.
-
Run the cobbler under the broiler for 1 to 2 minutes, watching constantly. This works if the top needs more color and the bottom just needs a final heat boost from above.
-
Transfer the filling to a skillet on the stovetop and simmer over medium heat for 3 to 5 minutes to evaporate excess liquid, then slide it back into the oven on a hot baking sheet.
-
Move the pan to a lower rack and extend baking time by 10 to 15 minutes if you catch the problem before the cobbler’s fully done.
-
Raise the oven temperature by 25°F and bake uncovered for an additional 8 to 12 minutes to drive off moisture faster.
-
If the bottom’s severely soggy, scoop out portions, discard pooled liquid, and serve the fruit warm over separately baked biscuits or with ice cream. You’ve turned a soggy cobbler into a warm fruit compote with crisp toppings.
Common Cobbler Mix Mistakes That Cause Sogginess
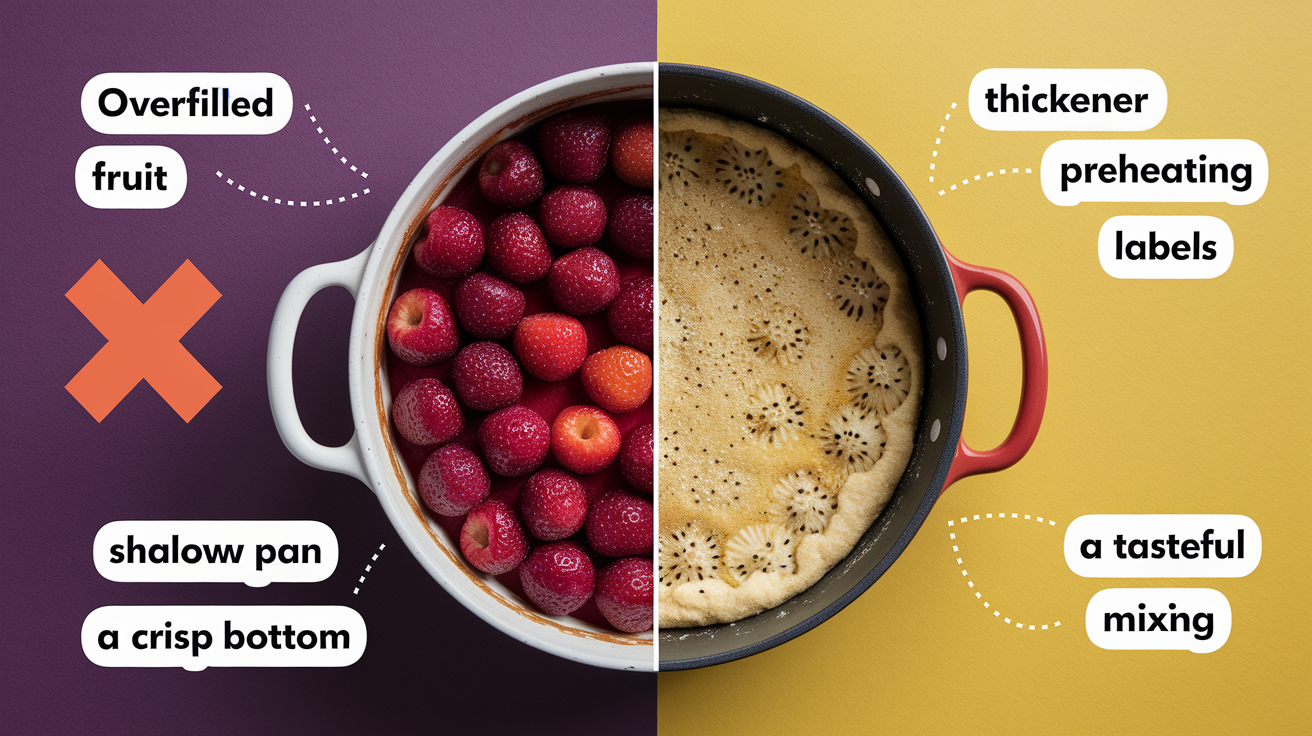
The most common mistake? Overfilling the pan with fruit. When fruit’s piled too high, the topping can’t cook the bottom layer fast enough, and juices pool underneath. Deep baking dishes trap steam and prevent the base from getting hot, so switching to a shallow pan solves most sogginess issues. Skipping the oven preheat means the pan heats slowly, giving juices time to soak into the topping before it sets. Covering the cobbler with foil for the entire bake time traps moisture inside and steams the bottom instead of crisping it. Using no thickener at all, or adding flour directly to wet fruit without mixing it in, leaves the filling thin and runny. Mixing the batter too wet or pouring it instead of spooning it in clumps means the topping spreads too thin and can’t form a firm crust.
The fixes are simple. Use a shallow 9×13 inch or 9 inch skillet instead of a deep casserole dish. Preheat the oven fully and use the middle or lower rack. Toss fruit with 2 tablespoons of cornstarch per 4 cups before adding it to the pan. Cut back the liquid in your cobbler mix by about 1/4 cup so the batter’s thick, not pourable. If you need to cover the cobbler to prevent over browning, wait until the last 10 to 15 minutes and use foil loosely tented, not sealed.
Cobbler Mix Storage, Reheating, and Serving Tips for Crisp Results
Let cobbler cool at room temperature for 20 to 30 minutes before covering and refrigerating. This gives steam time to escape so condensation doesn’t settle back into the topping. Store leftovers in an airtight container in the refrigerator for up to 3 days. Don’t cover hot cobbler with plastic wrap or foil, or the trapped moisture will turn the bottom soggy overnight.
Reheat individual portions on a baking sheet at 375°F for 8 to 12 minutes instead of microwaving. The oven re crisps the bottom and top, while the microwave steams everything and makes it gummy. If you’re reheating a whole pan, leave it uncovered and bake at 350°F for 15 to 20 minutes until warmed through and the edges start to bubble again.
-
Scoop servings from the center of the pan first, where juices pool the least. Edge pieces tend to be crisper.
-
Don’t serve cobbler straight from the refrigerator. Cold filling’s thick and the topping’s chewy. Let it sit at room temperature for 10 minutes or reheat it.
-
Portion cobbler onto plates and let any excess juice drain off before adding ice cream or whipped topping. This keeps the plate from flooding and the topping from getting soggy under a pool of fruit syrup.
Final Words
Start by taking fast, practical steps: drain fruit, cut added liquid, move the pan lower, and bake until the filling bubbles. A quick starch boost or prebake can save a wet base.
Then use smarter prep and tools — macerate or simmer juicy fruit, pick a shallow metal pan or preheated skillet, and check for deep-golden topping and steady bubbling. Mid-bake fixes work if you catch it early.
Follow these tips for how to prevent soggy bottom when using cobbler mix, and you’ll serve a warm, crisp, crowd-pleasing cobbler tonight.
FAQ
Q: How can I prevent a soggy cobbler crust or bottom and get a crispy base?
A: Preventing a soggy cobbler crust or bottom starts with draining or macerating fruit, adding 2 tbsp cornstarch per 4 cups (or 3 tbsp tapioca), cutting liquid 10–20%, preheating a metal or cast-iron pan, and baking lower until bubbling.
Q: How do I get rid of a soggy bottom after baking?
A: Getting rid of a soggy bottom means moving the cobbler to the lower rack, raising oven about 25°F, extending bake until the filling bubbles, sliding it onto a preheated sheet, or broiling very briefly to crisp the base.
