

Contrary to popular advice, thawing frozen fruit first is the quickest way to a soggy cobbler.
Freezing bursts cell walls, so when heat hits them the fruit leaks like a popped water balloon.
But you can stop that with three simple moves, toss icy fruit with the right thickener, bake hot so the gel sets fast, and give the cobbler 15 to 20 minutes to rest.
Read on and you’ll get exact starch amounts, oven tricks, and topping tips to make jammy, scoopable cobbler, not fruit soup.
Methods to Prevent Excess Water When Using Frozen Fruit in Cobbler
Frozen fruit leaks more than fresh because freezing bursts the cell walls. When heat hits those tiny ruptured pockets, juice floods out. Your job is to catch it before it soaks the bottom into mush.
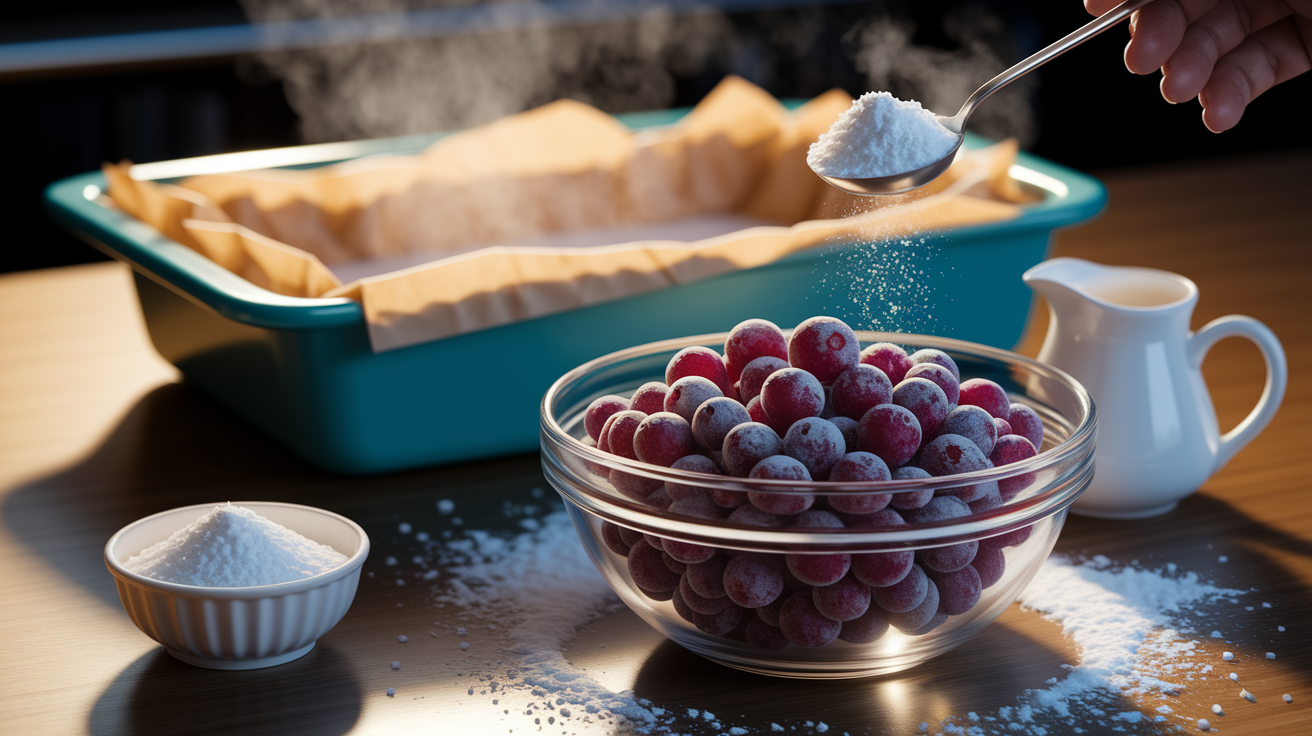
Don’t thaw the fruit first. Toss it straight from the bag with your thickener so it’s ready to absorb as soon as things warm up. One tablespoon of cornstarch per cup of frozen fruit is a safe starting point. So if you’ve got 8 cups of mixed berries, toss them with 3 tablespoons of cornstarch while they’re still icy. Sugar draws out even more moisture, which is why coating the fruit with starch first helps trap all that liquid.
Bake hot. Start at 400 to 425°F. You want the thickener working fast and surface moisture evaporating before it pools. Watch for bubbling in the center, not just around the rim. Once the whole filling bubbles, the starch has done its thing and the juices are gelling. Let the cobbler sit for 15 to 20 minutes after you pull it out. Cut too soon and all that barely-set gel will run right out.
Frozen fruit, correct starch ratio, high heat, and rest time. Miss one and you’re eating cobbler with a spoon.
Comparing Frozen Fruit Preparation Approaches for Cobbler (Pros and Cons)

You’ve got three ways to handle frozen fruit, and each changes how much juice ends up in your pan.
Using fruit completely frozen means easier assembly and firmer pieces, but all that ice is going to melt inside the dish. You’ll need a longer pre-bake or extra thickener. Thawing fully in a colander for 10 to 20 minutes lets you dump off surface liquid before baking, which cuts total juice but turns soft berries mushy when you stir in the starch. Partial thawing gets you halfway there—less pooling during setup, some firmness left, and faster heat-through.
Macerating frozen fruit with sugar for 15 to 30 minutes pulls out liquid you can drain off. Works great for peaches or cherries that can handle a gentle stir, but raspberries and strawberries fall apart. Pressing fruit in the colander or scooping it out with a slotted spoon both help. Just don’t rinse frozen fruit. That washes away flavor and adds plain water you’ll have to thicken anyway.
Use fruit frozen (no thawing): Best for drop-biscuit cobblers. Requires pre-baking fruit 15 to 20 minutes or an extra tablespoon of thickener per 8 cups. Keeps berries whole.
Thaw and drain fully: Best for very juicy berries when you want control over total liquid. Expect softer fruit and less defined pieces.
Partial thaw (slushy): Best for faster bake-through. Add thickener right away and bake immediately or it’ll pool.
Macerate then drain: Best for peaches, cherries, or mixed fruit where sweetness matters more than shape. Toss the drained syrup or save it for something else.
Pressing or slotted-spoon draining: Best when fruit’s already thawed and you need to ditch surface juice quickly. Minimal flavor loss, moderate mess.
Choosing and Using Thickeners for Frozen Fruit Cobbler
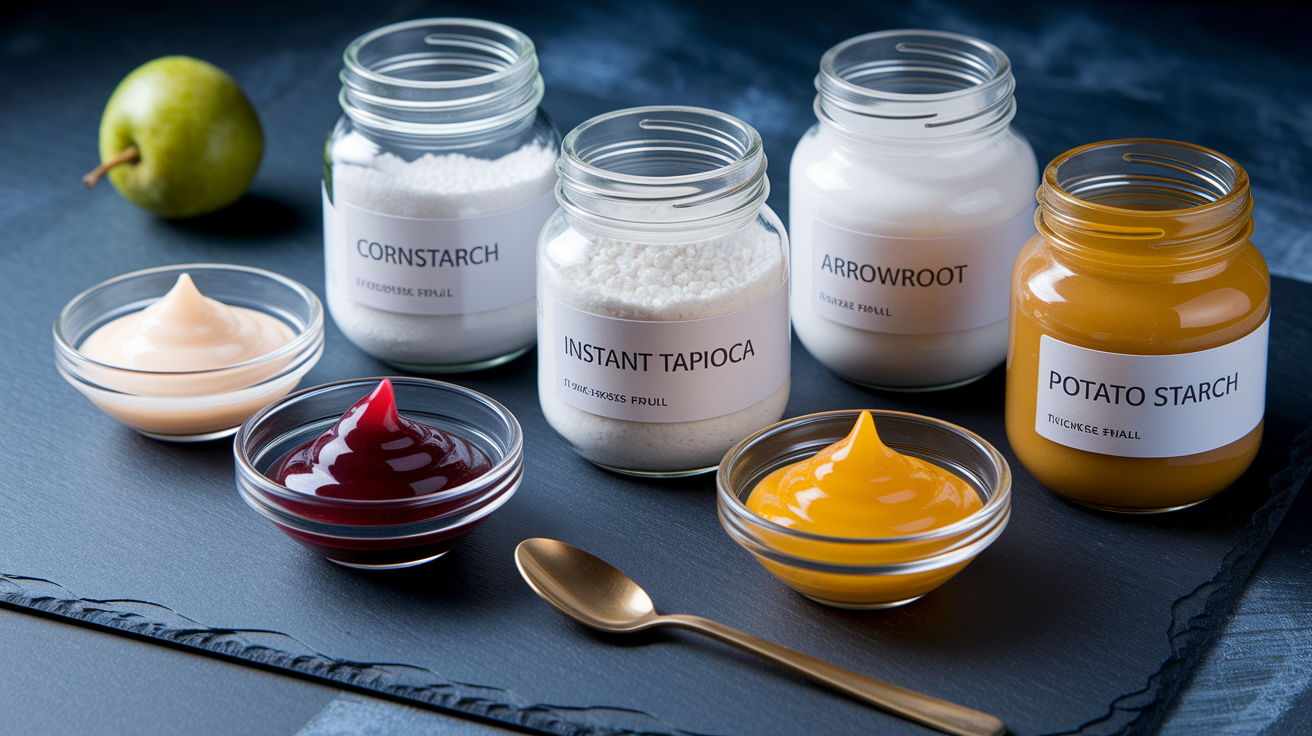
Thickeners turn fruit soup into something you can scoop. Cornstarch is what most people reach for because it makes a clear, glossy gel and works at normal oven temps. It needs full heat to kick in, so you’ve got to bake until the filling bubbles all the way through. Instant tapioca gives you a softer, more natural-looking gel with a little chew, and it won’t break down around acidic fruit like raspberries. Flour is the easiest swap if you’re out of cornstarch, but it makes things cloudier and a bit pasty. Arrowroot powder and potato starch both thicken at lower temperatures and stay very clear, but they can turn gummy if you overbake or stir too much after they’ve set.
The ratio decides whether your cobbler slices or runs. One tablespoon of cornstarch per cup of frozen fruit gets you a spoonable filling. Go to 1.5 tablespoons per cup if you want slices that hold their shape. Strawberries and raspberries leak the most, so lean toward the higher end. Blueberries, cherries, and peaches need less because they hold together better.
Each thickener behaves differently under heat and with acid, so here’s when to use what.
| Thickener | Ratio per Cup Fruit | Texture and Clarity | Best For | Notes |
|---|---|---|---|---|
| Cornstarch | 1–1.5 tablespoons | Clear, glossy gel | Most berries, general use | Must bubble to activate; can thin if held too long after baking |
| Instant tapioca | 1–2 tablespoons (or ¼ cup for 8 cups fruit) | Slightly chewy, translucent gel | Acidic fruit, rustic cobblers | Let fruit sit 15 minutes before baking so tapioca softens; holds up to long baking |
| All-purpose flour | 2–3 tablespoons | Opaque, slightly thick sauce | Quick cobblers, when gluten is OK | Easier to mix in; less glossy finish; needs full bake to avoid raw flour taste |
| Arrowroot powder | 1.5–2 teaspoons | Very clear, delicate gel | Low-temperature bakes, gluten-free | Breaks down if boiled hard or stirred after thickening; expensive |
| Potato starch | 1–1.5 tablespoons | Clear, smooth gel | Gluten-free, high-moisture fruit | Can turn gummy if overbaked; works well with frozen peaches |
Start low and bump it up a tablespoon if your fruit’s really juicy or if you’ve had watery cobbler before with the same berries.
Managing Baking Temperature, Timing, and Dish Choice with Frozen Fruit

High heat drives off surface moisture and gets your thickener working fast, which is why most frozen-fruit cobblers bake at 375 to 425°F. A recipe using 8 cups of frozen berries might call for 425°F with the dish loosely covered in foil for the first 20 minutes, then uncovered for another 25 so the topping browns and the filling bubbles hard. That covered phase traps steam and helps the frozen fruit heat through without scorching the top. Skip it and the topping can brown before the center has time to release and thicken its juice.
Dish size and material matter. An 8×8 or 9×9 glass or ceramic baking dish holds heat well and lets you see when the filling starts bubbling at the edges. Always set your baking dish on a rimmed sheet pan to catch overflow, because frozen fruit can release a surprising flood as it heats. The sheet pan also helps even heat circulation and protects your oven from sticky drips. Preheat the oven fully before the cobbler goes in so the temp stays high enough to activate the thickener right away instead of letting fruit sit and leak at a low simmer.
Watch for bubbling in the center, not just around the edges. If only the edges are bubbling, the middle’s still too cool and the starch hasn’t fully activated. That means a runny center when you serve. Tenting with foil again during the last few minutes can stop over-browning if the topping’s done but the filling needs more time. Let the cobbler rest on a cooling rack for 15 to 20 minutes after baking so the thickener finishes setting and the topping doesn’t get soggy from trapped steam.
Topping Structure and Techniques That Prevent a Soggy Cobbler

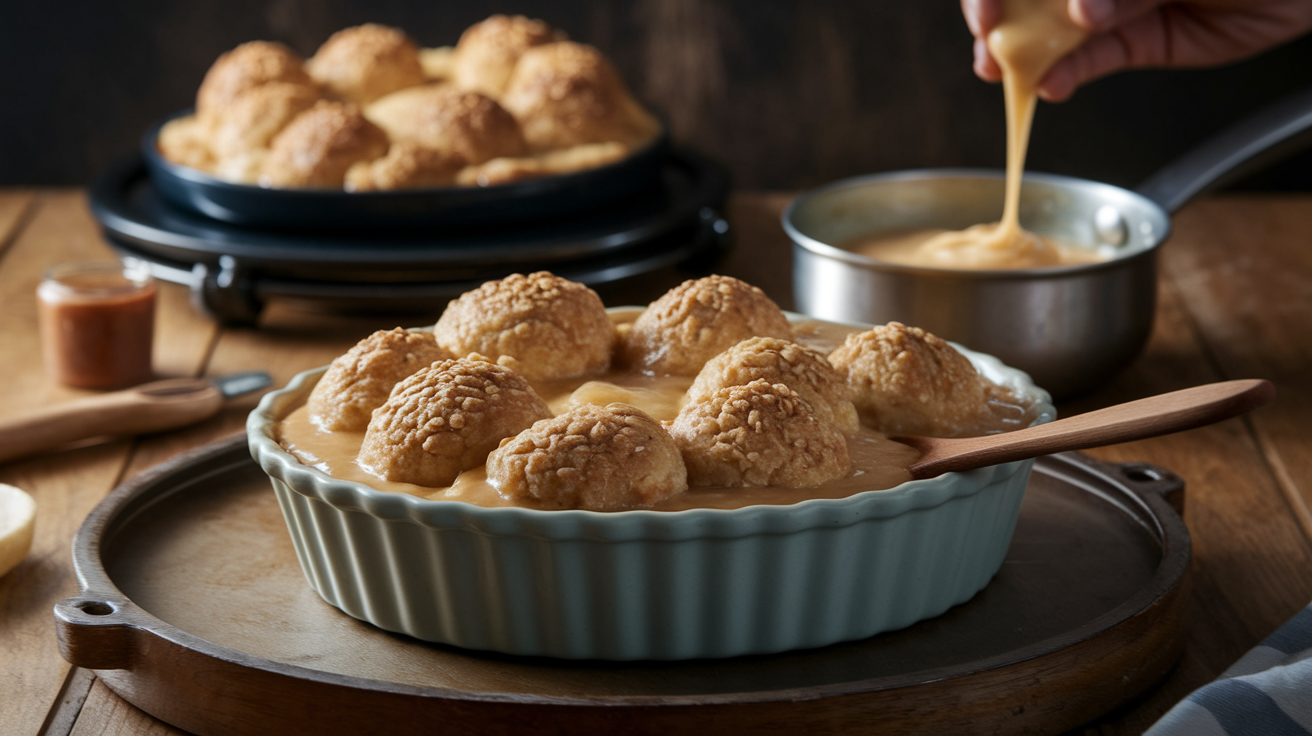
The topping acts as a barrier and an absorber, so how you mix it and how you place it over the fruit changes how much juice soaks in. A thick biscuit-style topping with cold butter cut into the dry ingredients creates steam pockets that help the topping rise and stay fluffy instead of sinking. Drop biscuits work well because you scoop them in separate portions instead of spreading a continuous layer. That lets steam escape between the biscuits and keeps the bottom from steaming into mush. A crumb or streusel topping made with oats, flour, butter, and sugar sits lighter on the fruit and absorbs less liquid, but it also offers less protection if the filling’s very juicy.
One shortcut that keeps biscuit topping light is melting the butter, then whisking it with cold buttermilk. The buttermilk seizes the hot butter into small clumps, mimicking the texture you’d get from cutting in cold butter. Faster and still produces a tender, slightly flaky topping that won’t sink. If you double the topping recipe to add more absorbency, expect to add about 5 minutes to the final bake time so the extra dough cooks through.
Use chilled butter and cut it into pea-sized pieces for a tender, flaky biscuit topping that rises instead of soaking up juice.
Drop topping in separate 1/8-cup or 1/4-cup scoops instead of spreading it in a solid layer, so steam can escape.
Add rolled oats to a crumb topping (about 1/2 cup oats per 1 cup flour) to absorb extra fruit juice.
Brush the top of biscuits with melted butter before baking to encourage browning and create a light crust that resists sogginess.
Pre-bake the fruit for 15 to 20 minutes before adding the topping if using frozen fruit, so excess surface liquid evaporates first.
Don’t press the topping down into the fruit. Lay it gently on top so it stays on the surface and bakes with dry heat instead of steaming from below.
Adjusting Cobbler Recipes for High-Water Frozen Fruits (Berries, Peaches, Cherries)

Different frozen fruits release different amounts of liquid, so the thickener ratio that works for blueberries might leave you with soup if you use strawberries or raspberries. Strawberries and raspberries are the juiciest because their cell walls are delicate and they carry a lot of water. Blueberries, blackberries, cherries, and peaches hold their shape better and release less during baking. If your recipe doesn’t specify the type of berry, assume it was tested with a mix that includes some firmer fruit. Adjust up if you’re using all strawberries or raspberries.
For 8 cups of high-water frozen berries like strawberries or a raspberry-heavy mix, increase cornstarch from the standard 3 tablespoons to 4 or 5. That extra thickener absorbs the additional juice without turning the filling gummy. If you’re using frozen peaches or cherries, you can stay at the lower end, around 3 tablespoons, because those fruits hold more structure and leak less. Pre-baking the frozen fruit for 20 minutes at 375°F before you add the topping also helps drive off surface moisture, especially with very juicy berries.
Mixing fruit types balances water content naturally. A combination of blueberries and raspberries will be less runny than all raspberries, and adding a cup of frozen peaches to a berry mix firms up the filling without changing the flavor much. If you know your fruit’s very juicy, reduce added sugar by a tablespoon or two. Less sugar means less liquid drawn out during baking.
All strawberries or raspberries: Use 4 to 5 tablespoons cornstarch per 8 cups fruit. Pre-bake fruit 20 minutes. Expect a thinner, spoonable filling even with extra thickener.
Blueberries, blackberries, or mixed berries with some firm fruit: Use 3 tablespoons cornstarch per 8 cups fruit. Standard bake time works.
Frozen peaches or cherries: Use 3 tablespoons cornstarch per 8 cups fruit. These hold shape well and produce a thicker base with less effort.
High-water fruit with low sugar preference: Reduce sugar by 1 to 2 tablespoons and increase cornstarch by 1 tablespoon to account for natural fruit syrup.
Pre-Cooking Methods to Thicken Frozen Fruit Before Baking

Pre-cooking frozen fruit on the stovetop or in the oven before you add the topping guarantees a thick filling because you control exactly how much liquid stays in the dish. Stovetop pre-cooking means you heat the frozen fruit with sugar and your chosen thickener in a saucepan over medium heat for 3 to 5 minutes, stirring gently, until the mixture thickens and the berries start to break down. You can see and feel when it’s ready, and you can add more thickener right away if it looks too loose. Let it cool slightly, then transfer it to your baking dish and add the topping. Best for very juicy fruit or when you’ve had watery cobbler before and want to be sure.
Oven pre-baking is simpler because you skip the stovetop step. Toss your frozen fruit with sugar, thickener, and any spices, spread it in the baking dish, and bake it at 375°F for 15 to 20 minutes before you add the topping. The fruit heats through, releases juice, and starts to thicken in the dish. If the fruit’s still frozen when you start, give it the full 20 minutes so excess liquid evaporates. Saves a pan and keeps the filling texture more intact because you’re not stirring it on the stove.
Stovetop pre-cook: Best when you want total control over thickness. Lets you taste and adjust sweetness or thickener. Takes an extra 5 to 10 minutes and dirties a pan.
Oven pre-bake: Best for busy nights or large batches. Less hands-on. Uses the same baking dish start to finish. Requires careful timing so fruit doesn’t scorch.
When to skip pre-cooking: If your fruit’s not very juicy, if you’re confident in your thickener ratio, or if you prefer a looser, spoonable filling.
Troubleshooting Watery Cobbler After Baking with Frozen Fruit
If your cobbler comes out of the oven with a runny filling, the most common cause is not baking long enough for the thickener to activate fully. Cornstarch and other starches need sustained heat and bubbling to form a gel, so if the filling’s only simmering at the edges when you pull it out, the center will stay loose. Put the cobbler back in the oven for another 5 to 10 minutes, watching for hard bubbling all the way to the middle. If the topping’s already as brown as you want, tent it loosely with foil so the filling can finish without burning the top.
Another fix for a watery filling after baking is to scoop the filling into a saucepan, leaving the topping in the dish. Simmer the filling over medium heat and whisk in a slurry of 1 to 2 tablespoons cornstarch mixed with 2 tablespoons cold water. Stir until it thickens, then spoon it back under the topping. This rescue works, but it’s extra effort and can make the filling a little cloudier. Preventing the problem is easier.
Letting the cobbler rest for 15 to 20 minutes before serving isn’t optional if you want a set filling. The thickener continues to work as it cools, and cutting into a hot cobbler releases all the liquid that hasn’t had time to gel yet. Serve it too soon and it’ll look runny even if you did everything else right.
| Problem | Cause | Fix | Extra Notes |
|---|---|---|---|
| Filling still runny after baking | Not baked long enough for thickener to activate | Return to oven for 5–10 minutes; watch for center bubbling | Tent with foil if topping is already brown |
| Watery filling even after full bake | Not enough thickener for fruit type | Scoop filling into saucepan, add cornstarch slurry, simmer until thick, return to dish | Use 1–2 tbsp cornstarch + 2 tbsp cold water |
| Soggy topping bottom | Fruit too wet when topping added; no pre-bake | Next time pre-bake fruit 15–20 min before topping; use drop biscuits instead of solid layer | Can’t fix after baking; prevent by managing moisture first |
| Cobbler watery when served hot | Cut and served before resting period | Let rest 15–20 minutes; filling will thicken as it cools | Starch needs cooling time to fully set |
Final Words
Keep the fruit frozen, toss with the right thickener (about 1 tablespoon cornstarch per cup or 1/4 cup instant tapioca for 8 cups), bake hot until the filling is bubbling, and let it rest 15 to 20 minutes so the juices thicken.
You also learned when to pre-bake, how to make a topping that soaks up less juice, and quick fixes if the filling is too loose.
By following these simple steps you’ll master using frozen fruit in cobbler without excess water and serve a steaming, jammy cobbler with a buttery, crisp top. Enjoy that scoop.
FAQ
Q: Can frozen fruit be used in a cobbler?
A: Frozen fruit can be used in a cobbler — and often is. Keep it frozen, toss with 1 tablespoon cornstarch per cup (or 1/4 cup flour for 8 cups), bake until bubbling, then rest 15–20 minutes.
Q: What are common cobbler mistakes?
A: Common cobbler mistakes are using thawed fruit so juices leak, skimping on thickener, removing before the filling bubbles, not letting it rest to set, and using a topping that’s too wet.
Q: Can you blend frozen fruit with no liquid?
A: Blending frozen fruit with no liquid is possible but hard on small blenders. Use short pulses, a powerful machine, or add a splash of juice or milk if it stalls to protect the motor.
Q: Do you need to thaw frozen fruit before baking?
A: You don’t need to thaw frozen fruit before baking; using it frozen keeps pieces firmer. Toss with thickener, consider a short pre-bake for very juicy berries, and bake until the filling bubbles.
